Easy Oyster Mushrooms Substrate Recipe to Make At Home
Choosing the most suitable substrate speeds up the growth of oyster mushrooms. The substrate, which allows easy access to more nutrients, grows mushrooms the fastest. If you want to know the best substrate to maximize the growth of your oyster mushrooms, here’s an easy oyster mushroom substrate recipe you can prepare at home.
The easiest substrate recipe for oyster mushrooms comprises 95% wheat straw and 5% gypsum. Cut the straw into 3 to 4-inch lengths, enclose it in a water-penetrating bag, and pasteurize it by submerging it in hot water (149°F to 176°F) for 1-2 hours. Drain well and add gypsum before inoculation.
There are other substrate recipes to choose from, but straw provides the fastest growth of mycelium. The straw substrate can be prepared in various ways aside from heat treatment. We’ll share other methods of preparing straw substrate as you keep reading below.
Summary
- The easiest substrate recipe to grow oyster mushrooms quickly is 95% wheat straw with 5% gypsum.
- Straw-based substrate can be prepared by heat pasteurization, treated using a lime bath or peroxide, or via cold fermentation.
- Straw is the cheapest and most effective substrate, and it's also available in most stores.
On this page:
The Easiest Oyster Mushroom Substrate to Make is Straw Substrate
Oyster mushroom (Pleurotus ostreatus) is the easiest mushroom to cultivate. This is because they grow on a variety of substrates, such as paper, straw, leaves, sawdust, cardboard, coffee grounds, cotton waste, and many more.
Substrates, or mediums, are the food source that enables the growth of the mushroom mycelium. Substrates are like soil to plants, where the mycelium, the root-like vegetative growth of the mushrooms, will grow before producing leaves and eventually bearing fruits (forming pins and producing fruiting bodies in the case of mushrooms).
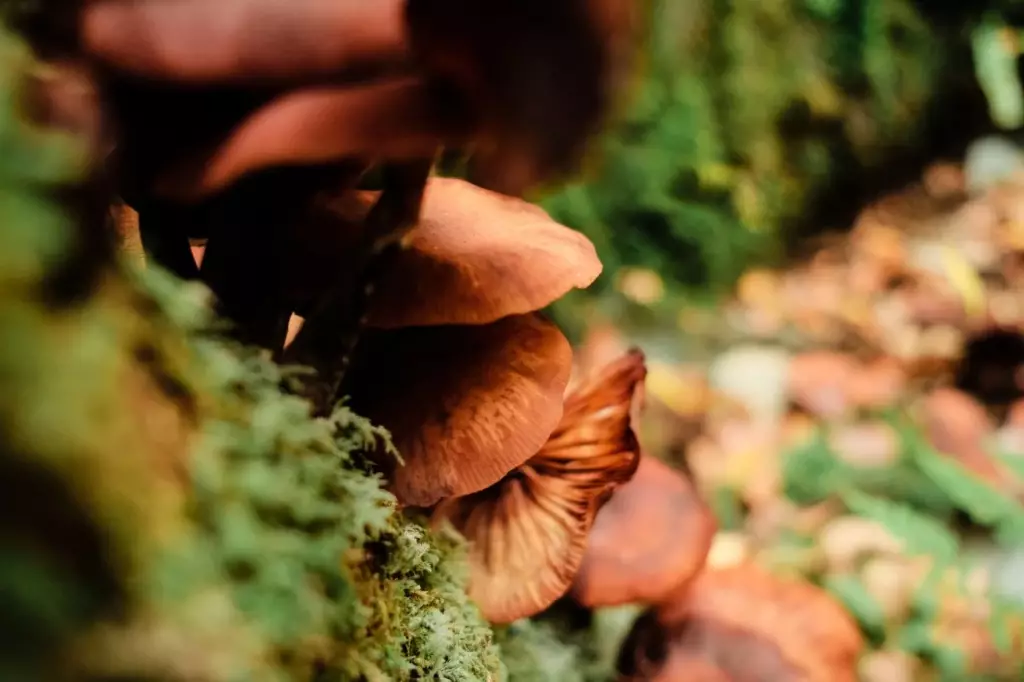
The most effective substrate to use is chosen not only based on its nutritional content and edibility for the mushroom species but also for its availability and straightforward use. For oyster mushrooms, the most common substrate is straw.
Aside from the fact that straw is cheap and the most effective in speeding up mycelium growth, it’s chosen for the following reasons:
- It contains essential nutrients that oyster mushrooms prefer to thrive on.
- It is easy to get a hold of as it is available in farm shops, pet stores, and other commercial stores selling animal feed or bedding.
- It mimics natural wood-like conditions, which are preferred by oyster mushrooms.
- It only requires little preparation and can be prepared with a simple recipe.
-
For beginners in oyster mushroom cultivation, the most recommended straw substrate recipe is the simplest one, comprising 95% wheat straw and 5% gypsum. From here, you can easily explore other substrate ingredients and nutritional supplements to know which work for your mushrooms.
Some other recipes that you can choose from are the following:
- 95 % sawdust (beech, poplar, oak, walnut, hornbeam, maple, etc. + 5% gypsum
- 60% straw + 35% corn cobs + 5% lime
- 90% corn cobs + 7% barley grain + 3% gypsum
- 60% soybean stalks + 36% corn cobs + 4% gypsum
The straw-based substrate can be prepared in a variety of ways. The most common and recommended approach is through heat pasteurization of the substrate mix.
The goal of heat pasteurization is to reduce the number of microscopic competitors in the substrate, like other fungi, insects, and bacteria, as well as any grains that might compete with the mushrooms. Pasteurization kills most microbes and leaves out only the beneficial ones.
Straw Substrate Can Be Prepared Using Different Methods
The most recommended recipe for the oyster mushroom substrate is 95% wheat and 5% gypsum. To make this mixture, you can opt for different methods to prepare it before inoculating it with mushroom spawn. Below are the following methods you can use to prepare the straw substrate:
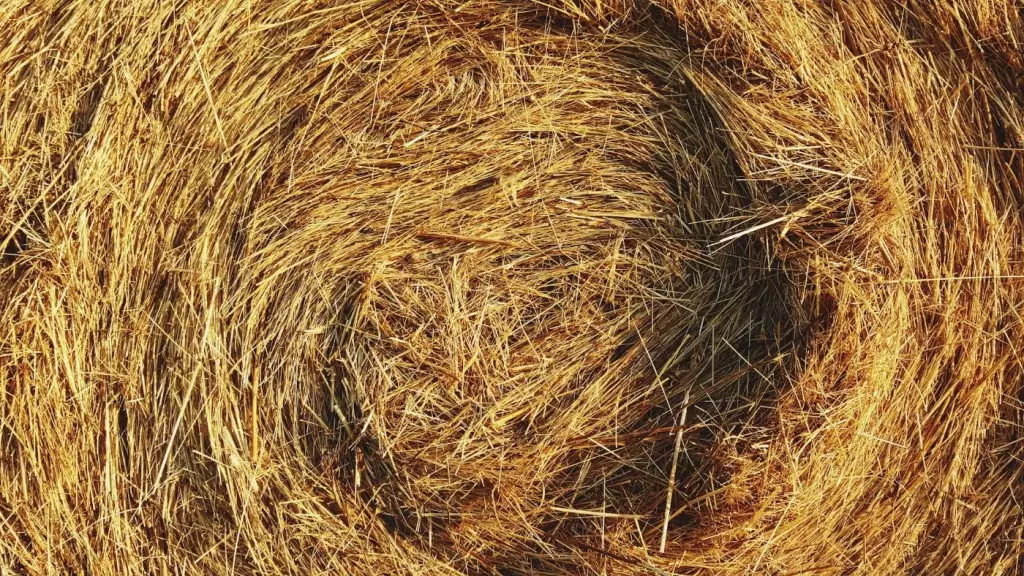
Straw substrate can be prepared by heat pasteurization
Heat pasteurization is the most tried and tested method for preparing straw-based substrates. This is done by cutting the straw into 3 to 4-inch-long pieces. You can use a shredder to speed up this process.
-
Short pieces of straw are easier to colonize by the mycelium, so it makes the whole process much faster and easier. After cutting, place the pieces in a heat-resistant, water-penetrating bag like a pillowcase or nylon mesh.
-
Heat a large pot of water to at least 160°F. Submerge the straw bags in the heated water. Make sure the bags are fully submerged. You can tie it down with a brick to help them put on weight.
-
Maintain a temperature range of 149°F to 176°F. Anything higher than this temperature can kill off even the good bacteria. Cook the bags for at least one hour, and you can use a compost thermometer to monitor the temperature while they are on heat.
-
After the heat treatment, drain the standing water and cool the straw for about 8–20 hours, or until the internal temperature is below 75°F. Drain the straw well by cutting the bottom corners of the bag and allowing the bag to drain.
To test whether you have successfully drained the bag, get a handful of straws and squeeze them. A fully drained straw should produce only a few drops of water.
Straw substrate can be disinfected using lime bath treatment
Straw is also cut into small pieces, packed in a bag, and tied.
-
Fill a clean 45-gallon drum with fresh water and add 4 cups of calcium hydroxide, or hydrated lime. You can also use calcium oxide (quick lime). Add these while occasionally stirring, and make sure the pH is around 12.
-
Add the straw bags and let them soak for 18–20 hours. After that, drain the bags for several hours until the moisture content is around 65%.
The squeeze test can be used to estimate moisture content. Grab a handful of straws and squeeze as hard as you can. No more than one drop of water should come out.
Straw substrate can be treated with peroxide
To prepare straw substrate for use with peroxide, first, soak the straw in water until thoroughly wet. Drain it. Rinse with water again.
-
Prepare the peroxide solution as follows: 1 liter of 3% peroxide must be added to 1 gallon.
-
Drain the recently rinsed straw, and then soak it in a peroxide solution. Submerge the straw overnight, drain, and rinse with fresh water twice. Immediately inoculate the spawn to the straw substrate after the second rinse.
Straw substrate can undergo cold fermentation
This method is the least energy-intensive but also the most time-consuming. In this method, you can choose to keep the whole bale or shred the straw into pieces. For whole bales, keep them submerged for a week. For shredded bags of straw, submerge them in fresh water for 7–10 days.
The concept of this method is to allow natural fermentation by anaerobic organisms to occur. A rich and complex microbe community can eliminate all other existing microorganisms in the straw.
After soaking for the suggested periods, drain it well, but be careful not to directly come in contact with the stinky water. Spread the straw on a clean surface to expose the anaerobic organisms to air, which eventually kills them.
The resulting straw substrate is therefore pasteurized and ready for spawn inoculation.
