Easily Sterilize Mushroom Substrate Without a Pressure Cooker
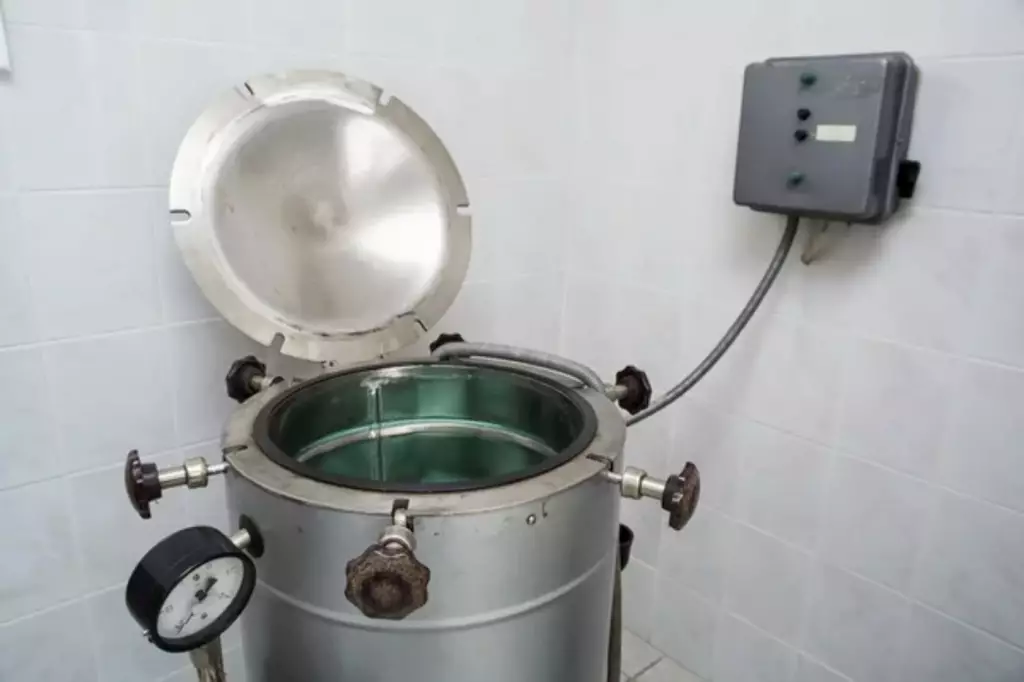
When you sterilize mushroom substrate to avoid contamination, a pressure cooker usually does the job. But for beginners with limited knowledge and budget, this equipment is not viable. Luckily, there are several ways you can sterilize mushroom substrate without a pressure cooker, and we will explore those options in this article.
As an alternative to a pressure cooker, you can sterilize your substrate using boiling water, in an oven preheated at 250°F (121°C), or by submerging it in a lime bath. You can also try chemical sterilization using hydrogen peroxide or consider Tyndallization or fractional sterilization.
These techniques will offer you accessible and practical alternatives to a pressure cooker. Below, we'll explain how to do each method in a step-by-step format and give you a summary of their pros and cons. We’ll also give you some insight into the importance of sterilizing mushroom substrates.
Summary
- In place of a pressure cooker, you can still sterilize a mushroom substrate using boiling water, heating it in an oven at temperatures of 250°F (121°C), or submerging it in a lime bath for 12 hours.
- You can also chemically sterilize a mushroom substrate using hydrogen peroxide.
- Alternatively, you can perform the tyndallization method, which involves heating the substrate 3 times for 30 minutes over 3 days to kill the microbes off completely.
On this page:
How to Sterilizate Mushroom Substrate Without a Pressure Cooker
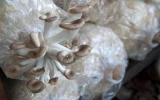
To speed up the growth of mycelium, one of the few hacks you need to do is to sterilize your substrate, whether they are in jars or in grow bags.
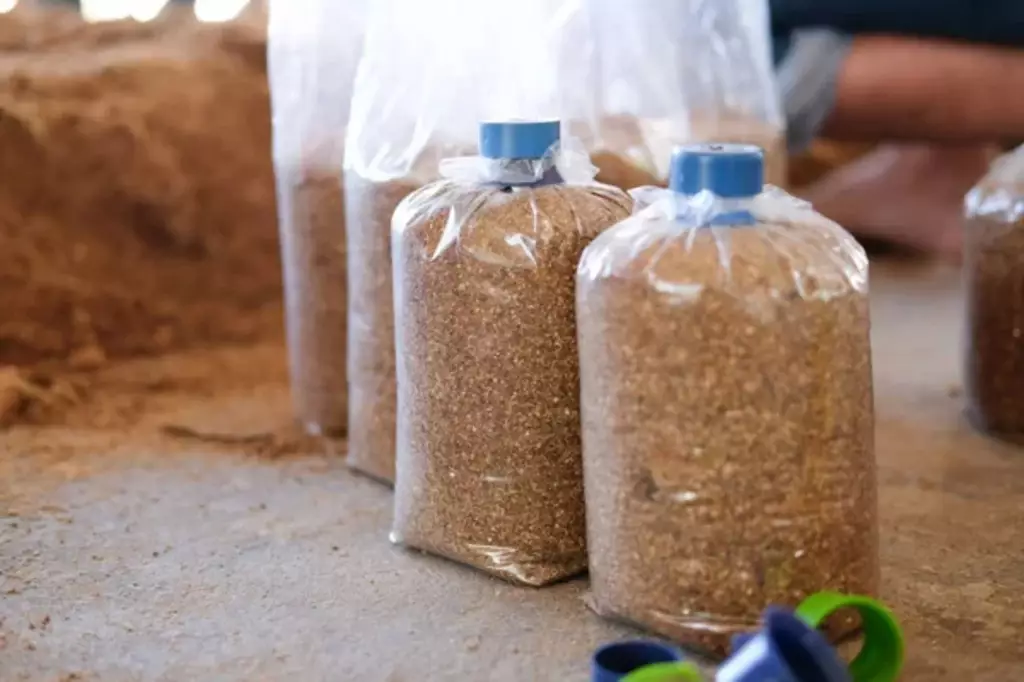
Most beginners make a mistake by skipping this process, which can usually be easily done via a pressure cooker. But if you don’t have access to a pressure cooker, here are alternative ways you can sterilize your substrate:
Use the boiling water method
The advantage of using this method is that it is relatively simple and inexpensive. It also does not require any special equipment or chemicals. Additionally, you can use it for a wide range of substrates, including sawdust, straw, and compost.
However, this method may not be suitable for substrates that are high in lignin, like hardwood sawdust or wood chips. You may find it difficult to sterilize them by boiling them because the lignin can form a protective layer around microorganisms, making them more resistant to heat.
Similarly, substrates that are high in fats or oils, such as some seed meals or nut shells, may also pose difficulty because the fats and oils can form a barrier that prevents heat from penetrating the substrate.
The key to success in this method is to follow these steps:
- Place your jars filled with the substrate in a large pot.
- Fill the pot with water until it covers the jars up to where the substrate stops.
- Boil the jars for about 2 hours, making sure the pot doesn't run dry.
- Turn off the heat and let the jars cool down slowly before removing them from the water.
Sterilize substrates in the oven
The oven sterilization method is considered more reliable than boiling water. It is also easier to maintain consistent temperatures in this setup than in pots of boiling water. However, this method requires a special oven that can maintain temperatures of at least 250°F (121°C), which may not be available to everyone.
If you’re prepared for a more energy-intensive and time-consuming method of substrate sterilization, then follow these steps.
- Preheat the oven to 250°F (121°C).
- Transfer your substrate into oven-safe bags or aluminum trays.
- Place the bags or trays on a baking sheet and cover them with aluminum foil.
- Bake for 30 minutes –1 hour, checking regularly to ensure that the substrate doesn't dry out.
- Allow the substrate to cool before proceeding to the inoculation step.
Sterilization using a lime bath
While the lime bath is effective for a wide range of substrates, if you opt for this method, you must be aware that it can be time-consuming. You may also need to carefully monitor the setup to prevent overexposure of the substrate to the lime solution, which can affect the growth of the mushrooms.
You might need to purchase a lime solution that is [low in magnesium (< 2%) and high in calcium. Higher magnesium can inhibit the growth of the mycelium.
When dealing with lime, perhaps read the instructions and the safety data sheet first as this chemical can be caustic and cause skin irritation or burns. If you’re opting for this method, here are the steps:
- Put on your rubber gloves, eye mask, and face mask for safety precautions.
- Fill a container with water and add an appropriate amount of hydrated lime to achieve a pH of 12–13.
- Submerge the substrate in the lime solution for 12–18 hours.
- Carefully remove the substrate from the solution and allow it to air-dry before using it for mushroom cultivation.
Sterilize substrate by using hydrogen peroxide
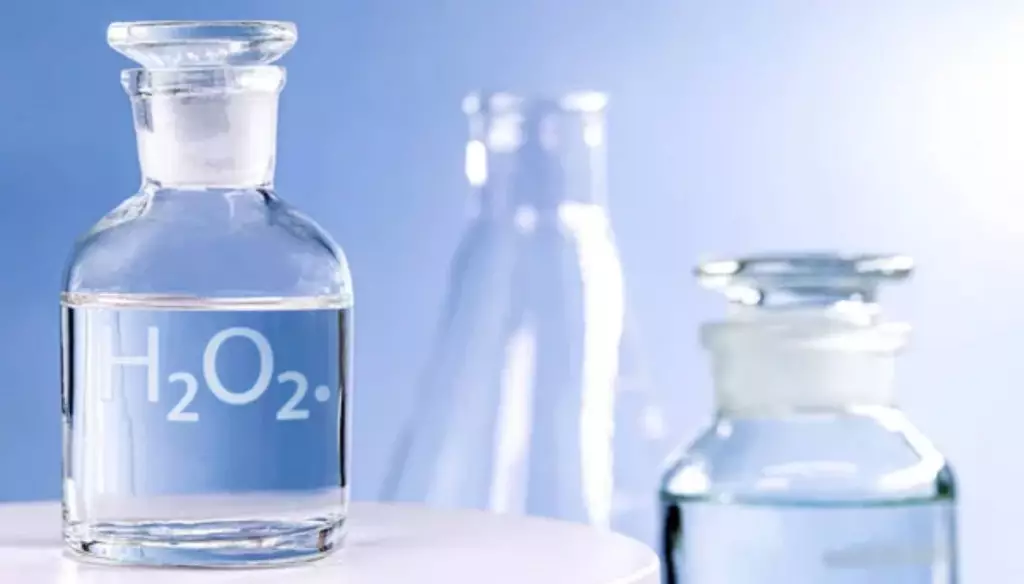
The main advantage of this method is that it can be less harsh on the substrate than other sterilization methods, such as heat or other chemicals. For this reason, it is currently used by most mushroom growers because it also encourages faster mycelial growth while killing microbes.
This method can be done with the following steps:
- Mix a solution of 3% hydrogen peroxide with an equal amount of water.
- Add the solution to your substrate, ensuring it's evenly distributed.
- Allow the substrate to rest for a few hours, giving the hydrogen peroxide time to decompose into water and oxygen, leaving behind a sterile environment.
Tyndallization creates a contaminant-free substrate
Tyndallization is another sterilization technique that uses a series of heating and cooling cycles. You can use this technique if you don’t have a pressure cooker or if your pressure cooker cannot handle many substrate jars.
This method involves steaming the substrate jars for 30 minutes to 1 hour, letting them cool down at room temperature, then, repeating the process three times, on three consecutive days.
The gist of this method is that any bacterial spores that survive on the first heating, will be heat shocked to germinate – making them vulnerable to the next steaming session.
On the third heating process, even late germinating spores will be killed-off, therefore leaving your substrate completely contaminant-free. You can now drain your substrate as you wish.
While this method can be time-consuming and may require more careful monitoring than other methods, it is a less harsh way to disinfect your substrate.
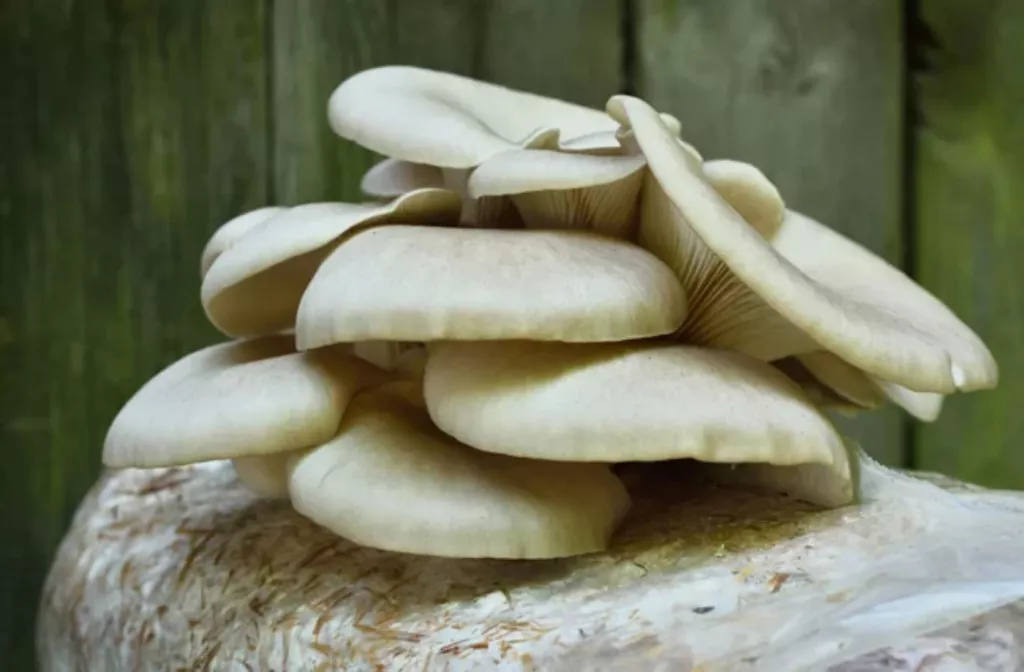
Why Sterilizate Mushroom Substrate
One of the most common growing problems that mushrooms encounter is contamination. When you inoculate your mushrooms in an unsterilized substrate, you’re allowing molds, bacteria, and other fungi to grow and compete with your crop.
It is for this reason that sterilization of substrate has been a crucial step in the cultivation process. By sterilizing the substrate, you're providing a clean and healthy environment for the mushrooms to grow and thrive, ensuring a successful harvest.
Here are other reasons why this step in mushroom cultivation is important:
1. It eliminates contaminants
Sterilization of the substrate eliminates any bacteria, fungi, or other microorganisms that could compete with the mushroom mycelium for resources, therefore allowing the mushroom to garner all the nutrients in the substrate alone.
2. It prevents spoilage
Sterilization also prevents the growth of unwanted microorganisms that could cause spoilage of the substrate, leading to a failed crop. Sterilized grain bags are thought to last for several months if stored properly.
3. It increases yield
Disinfecting the substrate increases the yield of mushrooms by creating a favorable environment for the mycelium to grow and colonize the substrate. This results in a higher yield of mushrooms per unit of substrate.
4. It improves quality
When you eliminate contaminants and provide a clean environment, your mushrooms are less likely to be affected by disease or spoilage, resulting in a higher-quality product.