When To Remove Honey Supers for Winter
Winter is the time to remove honey supers from the hive to allow the bees to focus their energy on building up stores of honey for the cold months ahead. Learn when you should remove honey supers for the winter, as well as tips for winterizing your hives.
When the nectar flow slows, usually in late summer or early fall, it's time to remove honey supers. Leave the hive with enough honey to last through winter. If the weather is mild, you can leave the supers on until the first frost. If the weather is cold, remove the supers before the first frost.
Get step-by-step instructions and advice from experienced beekeepers on how to prepare your hive for the cold weather.
Summary
- The best time to remove honey supers for winter is when the nectar flow slows, usually in late summer or early fall.
- Make sure to check the weather and prepare the hive before removing the honey supers.
- As you remove and store the supers, the aftercare should be done by checking and monitoring the hive.
Best Time to Remove Honey Supers for Winter
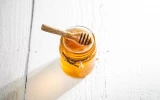
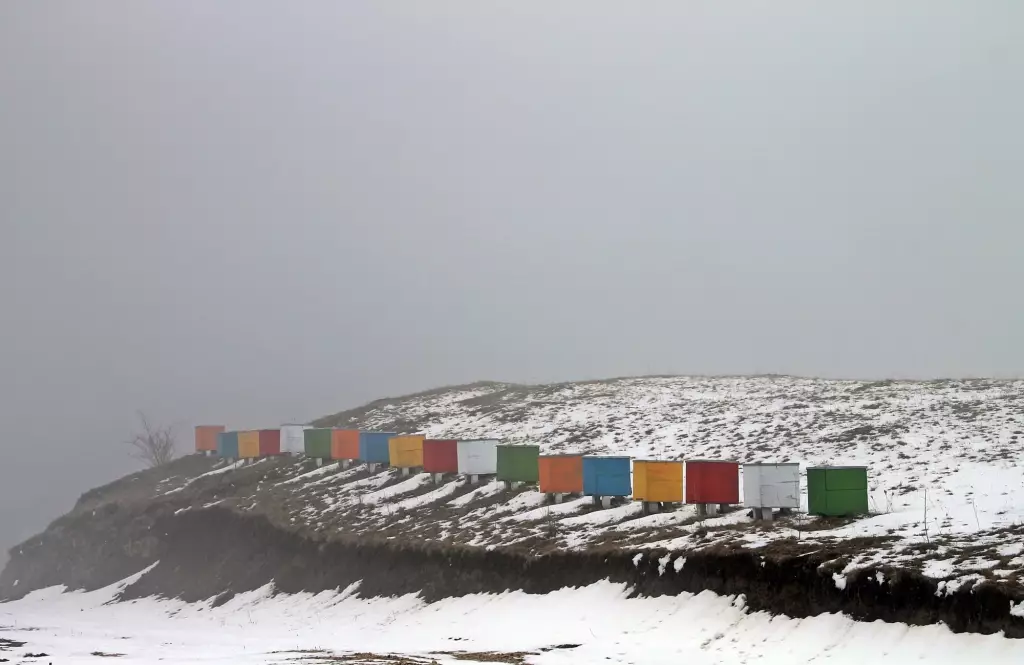
When the nectar flow slows, usually in late summer or early fall, it is time for beekeepers to remove honey supers from the hives. Honey supers are the boxes that sit on top of the hive and are filled with honeycomb frames. The honey supers are filled with honey produced by the bees during the nectar flow. It is appropriate to remove and store the honey supers once the nectar flow has subsided and most of the honey has been collected.
Late summer or early fall is the best time to remove honey supers for winter because it's the time when the bees have collected the most honey. The bees are already accumulating as much honey as they can in preparation for the coming winter.
The number of foragers that the bees send out to gather nectar and pollen will start to decline as the days get shorter and cooler. This makes it the ideal moment to remove them because they won't be as likely to add additional honey to the honey supers.
To ensure that the bees have enough honey to survive the winter and that the beekeeper can harvest the honey for personal use, honey supers should be taken down before winter.
Removing Honey Supers
Here’s a step-by-step process on how to remove honey supers for winter:
1. Check the weather
Before removing honey supers for winter, make sure that the temperature is below 50 degrees Fahrenheit. The ideal temperature is between 45 and 50 degrees. This will help to ensure that the bees are not agitated and that they can go into their winter cluster state.
When the weather warms up and flowers start blooming, the bees will start bringing in nectar and making honey. This is the time to start thinking about removing honey supers for the winter.
Checking the weather before removing honey supers for the winter is an important step for beekeepers to take. This helps ensure the health and safety of the bees, as well as the quality of the honey produced.
By checking the weather before removing honey supers, beekeepers can ensure that the temperature and humidity are appropriate for the bees to be able to survive the winter. If it is too cold or too wet, the bees may not survive.
Additionally, if the weather is too dry, the honey supers may not be able to be stored properly. Too-dry environments can cause honey supers to crystallize, making them challenging to remove. To ensure that honey is still available in the spring, it is crucial to evaluate the weather before removing honey supers.
Finally, checking the weather before removing honey supers can also help to prevent robbing. Robbing occurs when other bees or animals try to steal honey from the supers. By checking the weather, beekeepers can make sure that the temperature and humidity are appropriate to prevent robbing and other pests from stealing the honey.
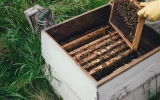
2. Prepare the hive
Make sure the hive is ready for winter before removing the honey supers. This includes making sure the hive is well-insulated, that there is enough food, and that the bees have enough water. Before removing honey supers for the winter, many important steps must be taken.
- The beekeeper must assess the health of the colony. This can be done by checking for signs of disease, mite loads, and the presence of a healthy queen. Once the health of the colony is determined, the beekeeper should feed the bees if necessary.
- The beekeeper should make sure the hive is well-ventilated by opening the top and bottom entrances. This will help prevent condensation from building inside the hive.
- The beekeeper must scrape away any remaining honey and wax from the frames. This will help to prevent robbing and keep the frames clean for the bees to use next spring.
- The beekeeper should close off any entrances or gaps in the hive to help keep out any pests or predators. Installing a mouse guard or stuffing the entrance with hay or straw can accomplish this.
By following these steps, the beekeeper can ensure that their hive is prepared for the winter and will be ready to produce honey and healthy bees come next spring.
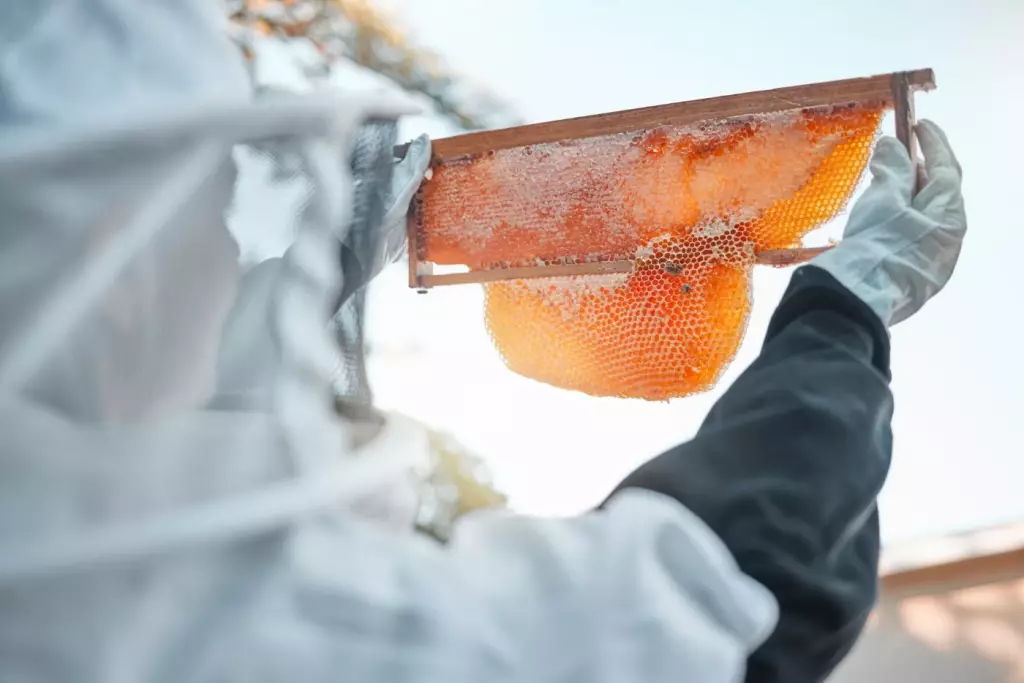
3. Put on protective gear
It is critical to put on protective gear before removing honey supers for the winter. A bee suit, gloves, a bee veil and hat, and boots are included.
- The bee suit should be light-colored and cover the entire body, including the arms and legs.
- The gloves should be long and fit snugly over the bee suit.
- The bee veil should fit snugly over the head and face and be secured around the neck with a drawstring or elastic band.
- The hat should be snugly fitted over the veil and secured with an elastic band.
- Finally, wear boots to protect the feet from stings and the elements.
It is also critical to ensure that the protective equipment fits properly. A tight fit is essential for keeping bees out and protecting the beekeeper from stings. Once the gear is properly fitted, the beekeeper should inspect it for any holes or tears that may allow bees access. The beekeeper should also inspect the area for any bees that may be present, and be prepared to leave the area if necessary.
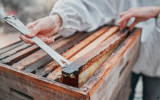
4. Remove the supers
Once the hive is ready for winter, it’s time to remove the honey supers. Start by removing any frames that are full of honey. If any frames are partially full, you can leave them in the super. Carefully remove the top supers on the hive that contains the honey. Make sure to gently shake the supers to get rid of any bees that may be inside.
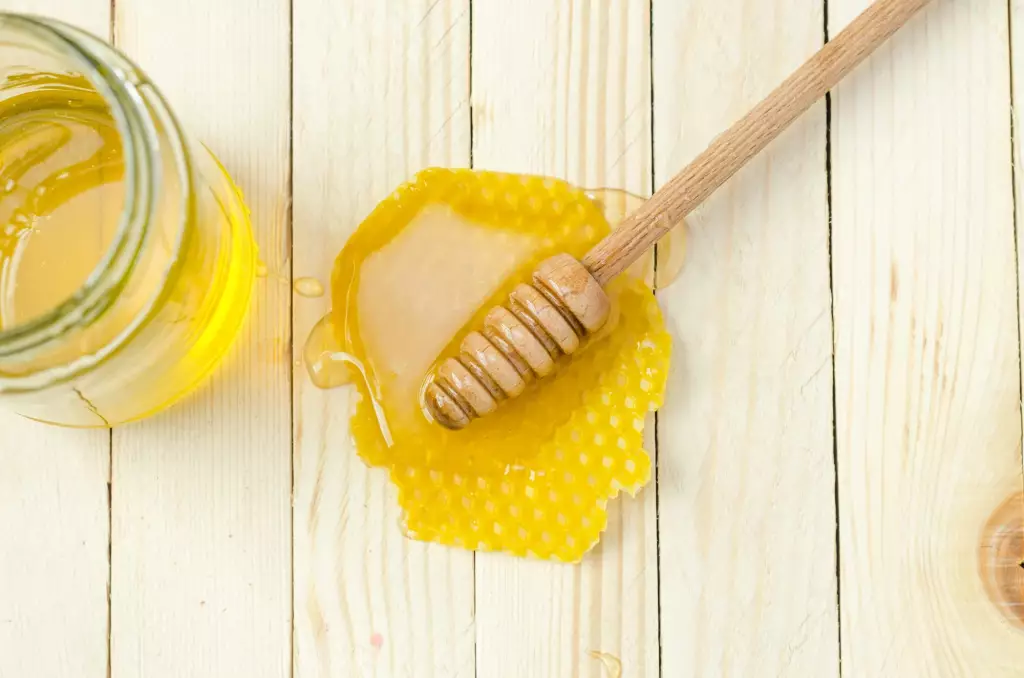
5. Store the supers
Store the honey supers in a cool, dry place. Make sure to keep them away from direct sunlight, as this can cause the honey to spoil. If needed, wrap the supers in a cloth or other protective covering to keep out dust and other contaminants.
6. Check the hive
After removing the supers, you should check the hive to make sure that the bees have enough food stores to get them through the winter. If needed, you can feed them sugar syrup or sugar candy.
7. Monitor the hive
Check the hive periodically throughout the winter to make sure that the bees are doing well and that there are no signs of disease or pests.