How Is Garlic Harvested: A Detailed Guide
Garlic undergoes a meticulous harvesting process that ensures its pungent aroma and flavor reach our kitchens. Knowing the process helps both commercial growers and gardening enthusiasts aiming to maximize yield and quality. In this guide, we will delve into the step-by-step journey of garlic from the soil to the store, highlighting the crucial stages of growth monitoring, ideal harvesting time, and post-harvest handling.
Garlic is harvested by first determining its maturity, usually when the lower leaves turn brown. The bulbs are then carefully dug up to avoid damage, using a spade or fork. After harvesting, garlic is cured in a dry, well-ventilated area for several weeks to prepare for storage or use.
The curing process is essential, making the difference between just good and great-tasting garlic and hinting at the intricate care behind those savory cloves we love to add to our meals. Let's see what other harvesting tips you shouldn't miss for a perfect garlic yield.
Summary
- The ideal time to harvest garlic is when several lower leaves turn brown, but the top leaves remain green, indicating maturity and readiness for collection.
- Careful handling during and after harvesting, including gentle lifting and avoiding washing, is crucial for preventing damage and ensuring the garlic stores well.
- Proper post-harvest processes, such as curing in a dry, ventilated area and storing in a cool, dry place, are essential for maximizing garlic's shelf life and quality.
On this page:
How Do You Collect Garlic?
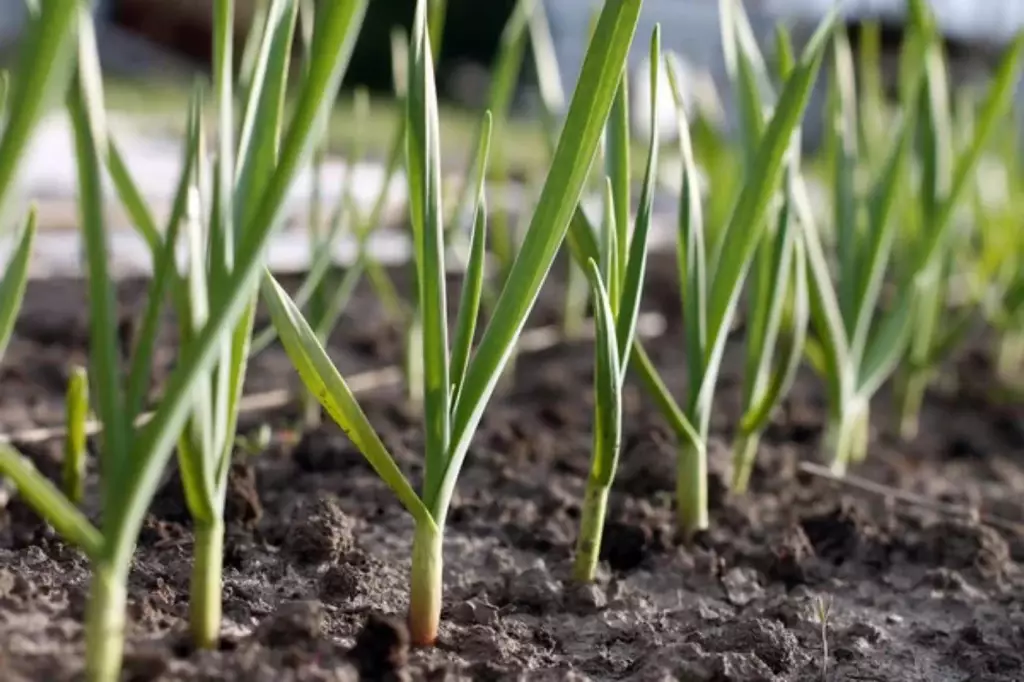
Harvesting garlic requires a sense of timing and a gentle touch. Typically, garlic is ready to harvest when several of the lower leaves go brown, but several green leaves remain on the top. This usually occurs in mid-summer, depending on your climate and the variety of garlic you have planted.
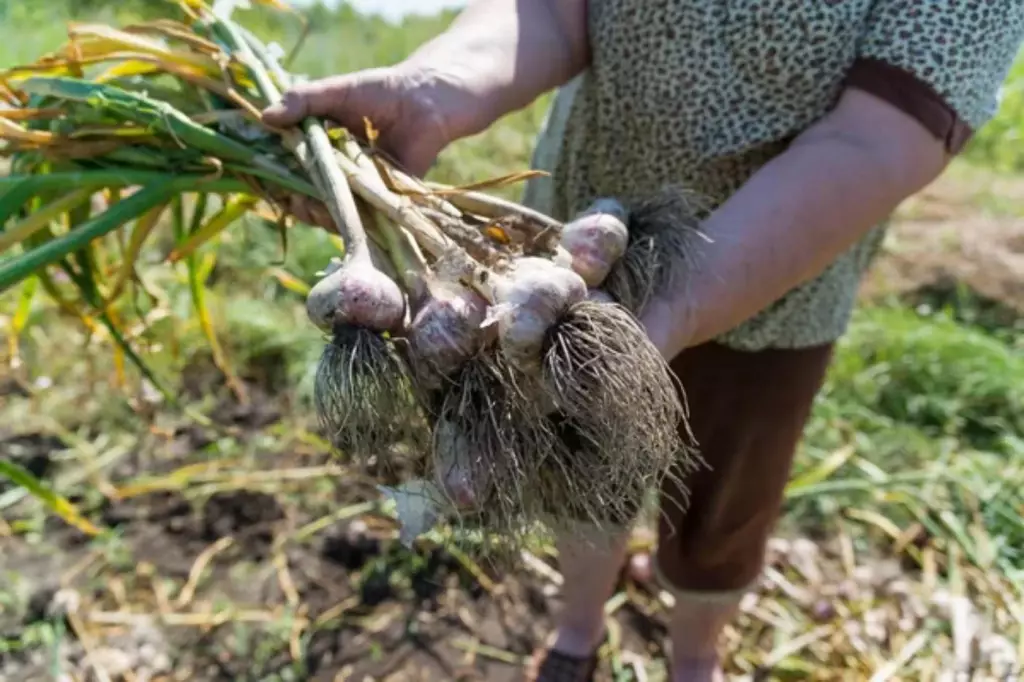
To begin collecting, loosen the soil around the plants using a spade or garden fork. Carefully lift the garlic bulbs out of the ground, making sure you don't bruise them. It's important to be gentle as damaged bulbs may not store well.
After lifting the bulbs, shake off any loose soil, but don't wash them as moisture can promote rot. If you notice any bulbs that are damaged or diseased, set them aside to use soon after the harvest.
Next, it’s important to handle your garlic bulbs with care to avoid bruising. Lay them out to dry for a few days in a shaded, dry area with good air circulation.
Once the tops are dry, trim the roots and stalks to prepare the bulbs for further curing or immediate use, depending on your preference.
Remember, the best garlic for storage will have dried leaves and feel dry to the touch. You've done it right if your harvested garlic stores well and is ready for you to enjoy in your kitchen for months to come. Here's a simplified list of steps:
- Wait for the right time: Several lower leaves are brown, while the top remains green.
- Loosen the soil around each plant gently.
- Lift the garlic bulbs carefully.
- Shake off loose soil and avoid washing the bulbs.
- Remove any damaged bulbs from the batch.
Timing the Harvest
Harvesting your garlic at the right time helps ensure strong flavor and proper storage life. It's about recognizing the maturity signs and using the correct methods.
Recognizing signs of maturity
Your garlic is ready for harvest when several green leaves remain but a few of the lower leaves turn brown. For hardneck garlic, expect this to occur in early summer as warm weather kicks in, while softneck garlic may mature slightly earlier.
Keep an eye on the climate; in mild winter areas, you might start in late spring. If rain is in the forecast, plan to harvest before the cloves sit in moisture, which can lead to rot.
Proper harvesting methods
When the time is right, gently loosen the soil around the bulbs with a shovel or garden fork, being careful to avoid damaging the mature bulb.
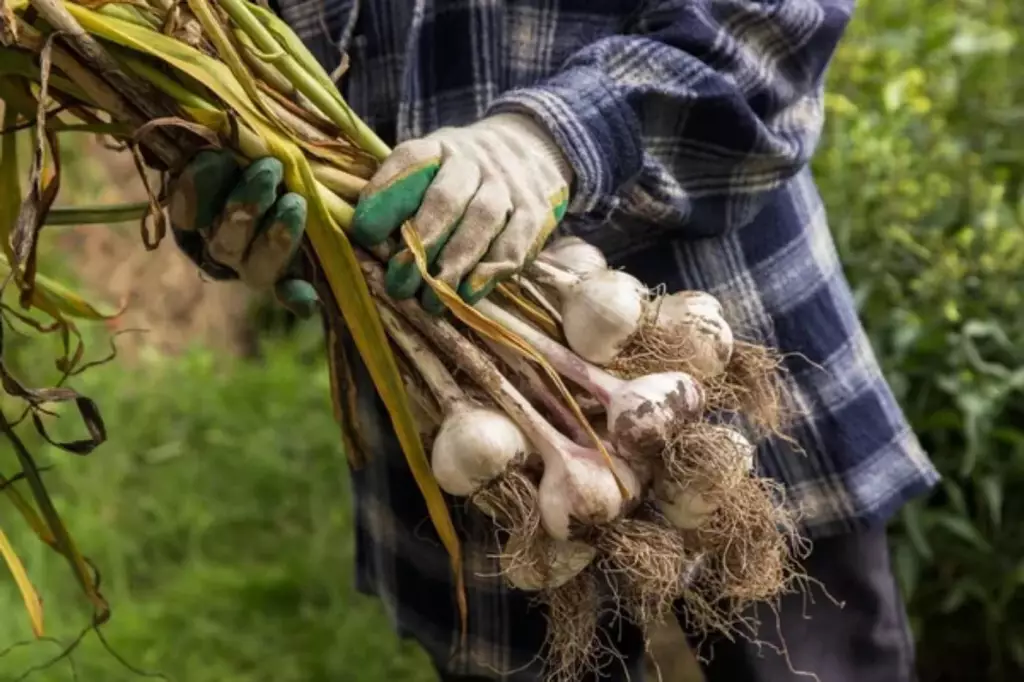
Lift the garlic out of the soil and brush off any excess dirt. Remember, never pull the garlic by the stalk as this can separate the stalk from the bulb. Your harvest should still have green leaves attached, which are necessary for curing and storage.
If you're harvesting elephant garlic, here's how to know when not to pull it yet.
Post-Harvest Garlic Handling
Once you've harvested your garlic, make sure to handle it correctly to ensure it keeps well. Proper post-harvest handling will maximize the shelf life and quality of your garlic crop.
Garlic undergoes a curing process
Curing your garlic is essential for its long-term storage. Place your harvested garlic in a dry, well-ventilated area away from direct sunlight for several weeks.
Good air circulation is crucial, so consider using wire racks or mesh bags. For hardneck varieties, which typically have looser skins, a longer curing time may be necessary compared to softneck types.
Garlic needs to be cleaned and trimmed
After curing, clean your garlic by gently brushing off any soil and trimming the roots close to the bulb. Be careful not to remove too much of the protective outer skin.
Hardneck garlic can also be trimmed at the top, but leave a few inches of stem if you plan to braid your softneck garlic.
Storing options for post-harvest garlic
Store your cured garlic in a cool, dry place. Room temperature is generally fine, but ensure humidity levels are low to prevent mold and sprouting.
You can use mesh bags or even pantyhose to hold the bulbs while allowing for airflow. Avoid storing garlic in the refrigerator, as the cold and moisture can reduce its quality and shelf life.
Braiding and hanging softneck garlic
For softneck garlic, braiding is not only a traditional storage method but also an effective one. Braid your garlic and hang it in a cool, dry area to promote good air circulation.
This method is visually appealing and practical, making it easy for you to keep an eye on your homegrown garlic and use it as needed.
Maximizing Garlic Quality
When you're focused on maximizing the quality of your garlic harvest, starting with the right variety is crucial.
Softneck garlic is appreciated for its ability to be braided and stored, while hardneck varieties offer robust flavors and unique characteristics such as purple stripes and scapes.
- Varieties: Choose between softnecks, hardnecks, rocamboles, porcelains, and silverskins based on your climate and flavor preference.
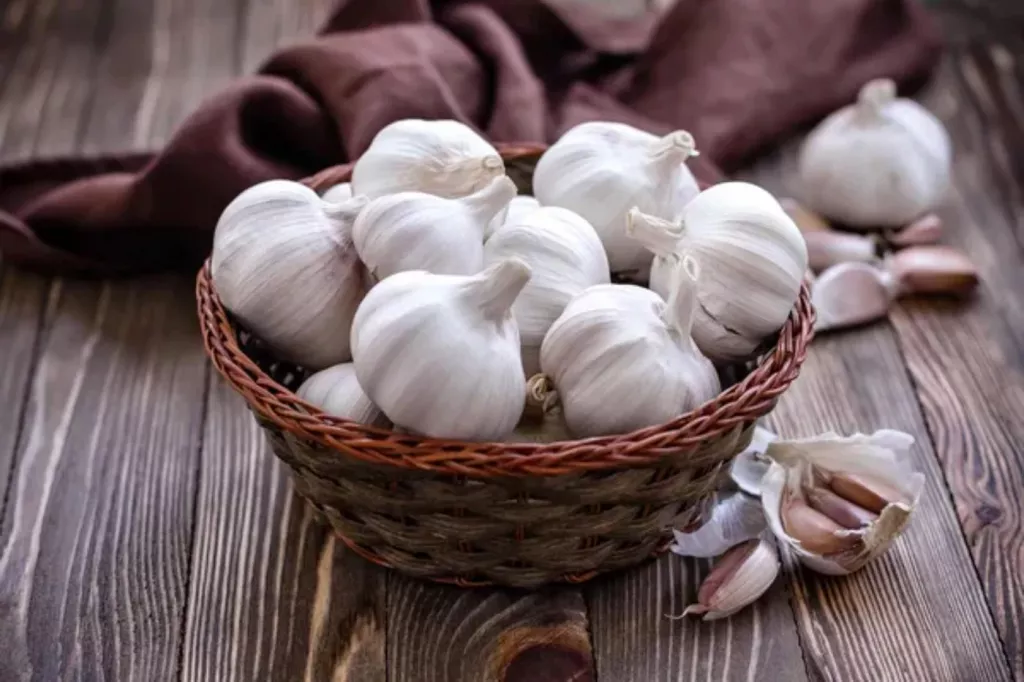
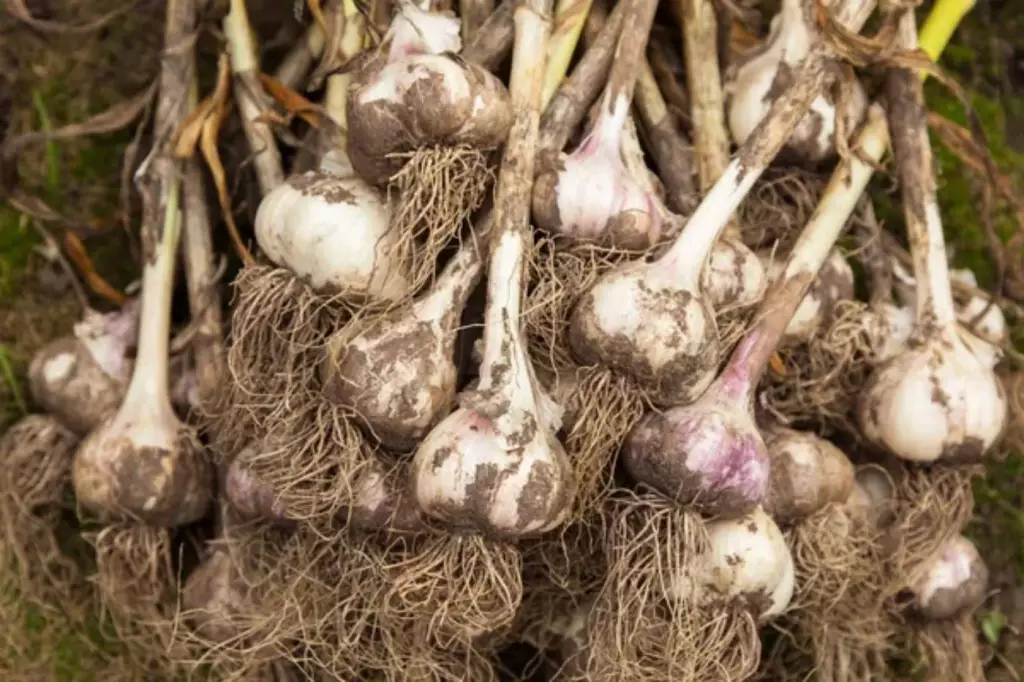
- Quality: Aim for bulbs with tight, papery skin, and fully developed garlic cloves—all signs of good quality.
To guard against browning and fungal diseases, ensure your planting site is well-drained and practice crop rotation. The papery skin should be intact around the dried cloves to protect against diseases.
- Diseases: Watch for signs of diseases like fungal infections, which can affect quality. Take preemptive measures, like choosing disease-resistant varieties.
When it's time to harvest, wait until your garlic has several dried leaves, which indicates maturity. After harvesting, cure your garlic in a dry, well-ventilated area; this is critical to prevent browning and maintain flavor.
- Curing: Properly cured garlic results in the best flavor and quality. Let it dry for a few weeks before storage.
Remember, the quality of softnecks like silverskins is perfect for long-term storage while hardnecks provide a shorter storage life but often a more complex taste profile. Softneck silverskin garlic is also one of the most profitable varieties of garlic to grow.
Harvesting Method for Garlic
Harvesting garlic by hand
Garlic, a popular and widely used culinary ingredient, is one such crop that benefits from manual harvesting techniques.
The method of harvesting garlic manually can vary depending on the scale of the operation, from small-scale gardens to larger commercial farms, and the level of delicacy required for the specific garlic variety.
Harvesting by hand pulling
Hand pulling is the most basic and gentle method of harvesting garlic, particularly suited for small-scale gardens or when dealing with delicate garlic varieties that are prone to damage.
This method emphasizes the care taken to preserve the integrity of the garlic bulb during extraction from the soil. Here's how it's generally done:
-
Preparation: Before the actual pulling, the soil around the garlic bulbs is usually loosened to facilitate easy removal. This can be done using a spade or garden fork, carefully inserted into the soil around the plant to avoid slicing into the bulbs.
-
Extraction: Once the soil is loosened, the garlic is gently pulled out by grasping the stems. This must be done with care to prevent breaking the stems from the bulbs, which can affect the garlic's shelf life and quality.
-
Post-harvest handling: After harvesting, the garlic typically needs to be cured or dried in a well-ventilated area to prepare it for storage. This step is crucial for extending the lifespan of the garlic and preserving its flavor.
Harvesting using tools
For operations that are slightly larger than a small garden but not quite on the scale of commercial farming, various tools can assist in the manual harvesting of garlic.
These tools help to make the process more efficient while still maintaining a relatively gentle approach to ensuring the quality of the bulbs.
-
Broadforks: These are larger than garden forks and allow for the loosening of soil over a wider area. They are especially useful for lifting the soil gently to ease the extraction of garlic bulbs without causing damage.
-
Specialized garlic harvesting tools: Some tools are designed specifically for harvesting garlic. These may include implements that can slide beneath the garlic bulbs to lift them out of the soil more efficiently than a standard fork.
Mechanical harvesting
On the commercial scale, where efficiency and time are of the essence, mechanical harvesters come into play.
These machines are designed to automate the harvesting process, capable of lifting garlic bulbs from the soil on a large scale and conveying them to a collection point.
-
Efficiency: Mechanical harvesters significantly speed up the harvesting process, making it feasible to harvest large fields in a fraction of the time it would take manually.
-
Calibration: The key to successful mechanical harvesting is careful calibration of the machinery. The equipment must be set up to minimize damage to the bulbs, which involves adjusting the depth and speed of the harvesting apparatus.
-
Limitations: Despite their efficiency, mechanical harvesters may not be as gentle as hand-pulling or tool-assisted methods. There is a higher risk of damage to the garlic bulbs, which can affect their market value and shelf life.
Do You Harvest Garlic Before or After It Flowers?
When you're growing garlic, timing is important for harvesting. Usually, you should harvest your garlic before it flowers. This is because when garlic plants begin to bloom, they divert energy into flower and seed production rather than the bulbs.
Garlic plants signal readiness for harvest when the lower leaves start to yellow and brown. Typically, this occurs before the plant fully flowers. By harvesting before flowering, you ensure the bulbs are large and have concentrated flavors.
Here's what to consider:
- Check the leaves: When about 5 to 6 leaves remain green, it's a good sign that harvest time is near.
- Bulb size: You can gauge bulb size by gently digging around the base to ensure they are adequately filled out.
- Flowering stalks: If you see curly stalks called garlic scapes, consider cutting them back. Doing so directs the plant's energy to grow bigger bulbs.
Remember: If your garlic has already developed scapes, it’s still okay! Cut them off, as they're great for cooking, and check your bulbs for the right size. But generally, aim to harvest before the flowering process begins for the best garlic bulbs.
Do You Wash Garlic After Harvesting?
When you harvest your garlic, resist the temptation to wash it. It's crucial that you keep the bulbs dry to prevent mold and rot. The dirt clinging to your garlic is actually beneficial at this stage, protecting it during the curing process.
Instead of washing, gently brush off any loose soil from the bulbs. You can do this by hand or use a soft brush. Be careful not to damage the garlic's skin, which is vital for preserving the bulbs during storage.
Here's what you should follow after pulling your garlic from the ground:
- Handle with care: The freshly harvested bulbs are delicate.
- Brush off soil: Use a soft brush or your hands to remove loose dirt.
- Cure the garlic: Place it in a well-ventilated area away from direct sunlight for several weeks.
By following these steps, you ensure your garlic will be well-preserved and ready for long-term storage. Don't worry if there's still a bit of dirt left — it won't harm your garlic.
After the curing is complete, any remaining soil will be much easier to remove, and the garlic will be less prone to damage.