How To Split a Beehive Successfully Every Time (Step-By-Step)
Splitting a beehive is an excellent strategy for reducing potential swarming losses and possibly expanding your apiary. But first, you need to assess your beekeeping goals, your current apiary, and your resources before selecting how to split.
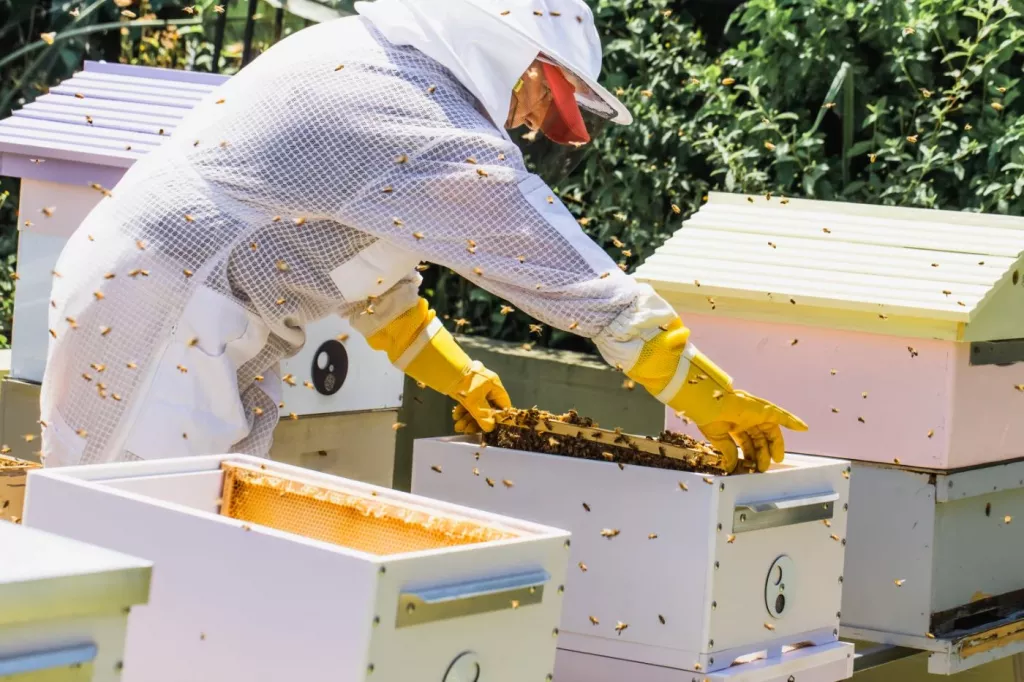
To split a beehive successfully, you need enough bottom boards, brood boxes, honey boxes, and frames. You also need space for the new hives in or near your bee yard, so the bees can get to the resources they need. Choose a hive that’s strong enough to split. Splitting a weak hive will put more strain on the colony.
It is crucial for a beekeeper to grow his bee colony each year, which can be accomplished by splitting the current colonies into two or three sub-colonies with new queens. Let's figure out how to split a beehive step-by-step in this guide.
Summary
- Splitting an unprepared hive might lead to the failure of not one, but two hives.
- When determining how to split a hive, considerations such as the amount of time, availability of equipment, and space should all be taken into account.
- By splitting your hives in anticipation of a swarm, you can lessen the effects of swarming and give the bees a chance to gather resources and strength before the upcoming winter.
On this page:
Two Common Ways to Split a Beehive
During the swarming season, when the queen cells are built, the number of colonies can be increased by dividing the current colonies. It is accomplished by keeping an old queen and 50% of the brood combs in an empty hive. The hive needs to be transferred at least 0 to 8 kilometers from its original location. Keep the other half of the colony with the queen cells at the original location.
Split a beehive step-by-step with walk-away split
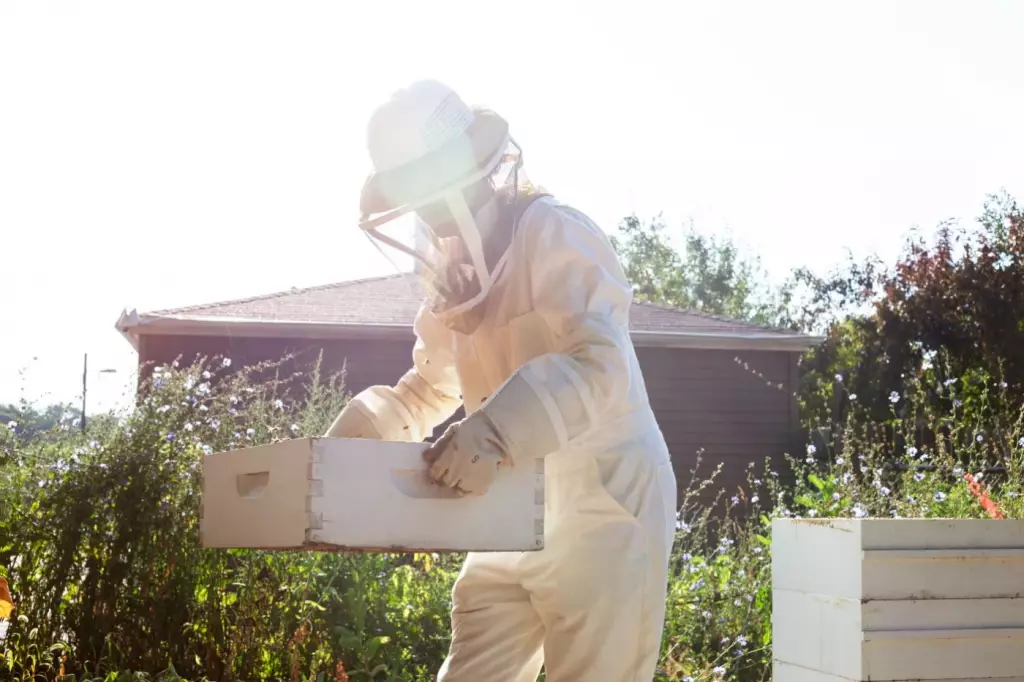
One of the simplest methods for separating a congested hive is a walk-away split. Simply take the top brood box from the beehive, set it on its own bottom board to establish a separate hive, and then add a second box to each hive to accomplish the split.
The current queen will be able to continue laying eggs and expanding her colony in either the original or new hive while the other hive rears a new queen from accessible queen cells. After the split, the queenless hive needs to be left alone for a full month to let the new queen finish her breeding flights and start laying eggs.
-
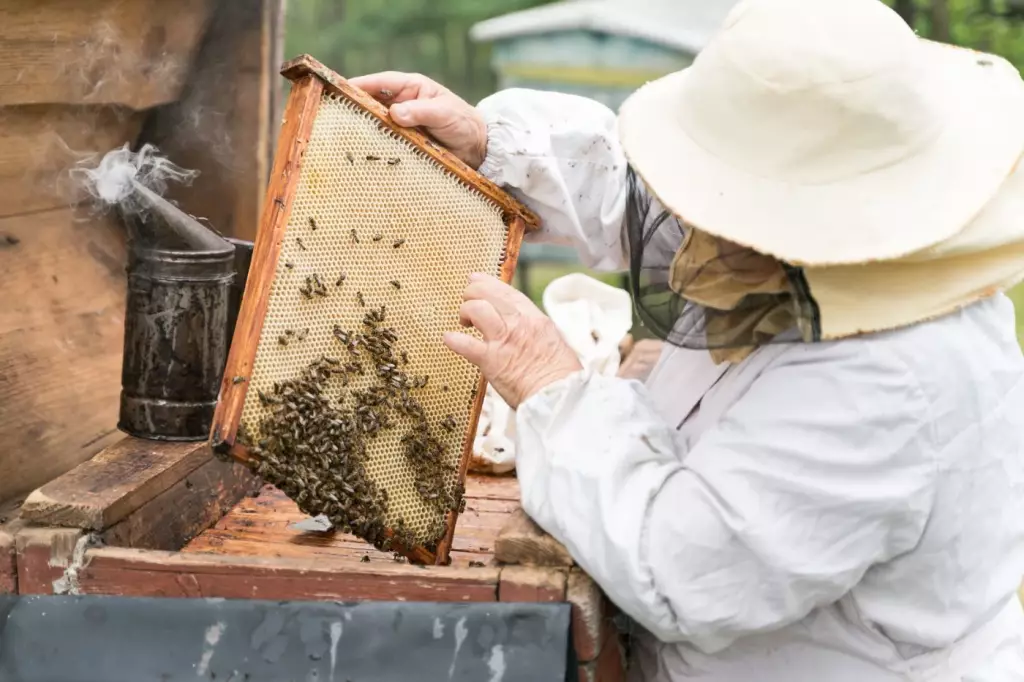
Open the hive and take two frames each of honey and pollen, as well as two frames each of all stages of brood. Shake the bees off the frames and put them in a box off to the side.
-
Fill the remaining space in the new box with empty frames, preferably ones that have already been drawn.
-
Put empty frames, ideally with combs already drawn, in place of the frames removed from the original box.
-
A queen excluder should be placed on top of the original box.
-
Place the new box on top of the queen excluder with the frames taken out of the original box, and then secure the lid and cover. Nurse bees from the lower box will ascend to feed the brood, but the queen is confined to the original bottom box.
-
In 24 hours, go back to the hive and take the top box off, placing it on a fresh bottom board.
-
Introduce a newly acquired queen into the hive by following the directions for installing queen bees here.
-
Give the new hive a cover and a lid. Ideally, transfer the hive off-site for a week (to stop the bees from returning to their original hive) and then bring it back to your bee yard. If at all possible, keep the two hives as far apart as you can. With clumps of grass or a mesh screen, you can block the entrance of the relocated hive, but make sure there is enough ventilation.
-
Check on the queen after two or three days to be sure she has left the queen cage. In 7–10 days, check the hive once more to make sure she has started to lay.
Split a beehive step-by-step with artificial swarm split
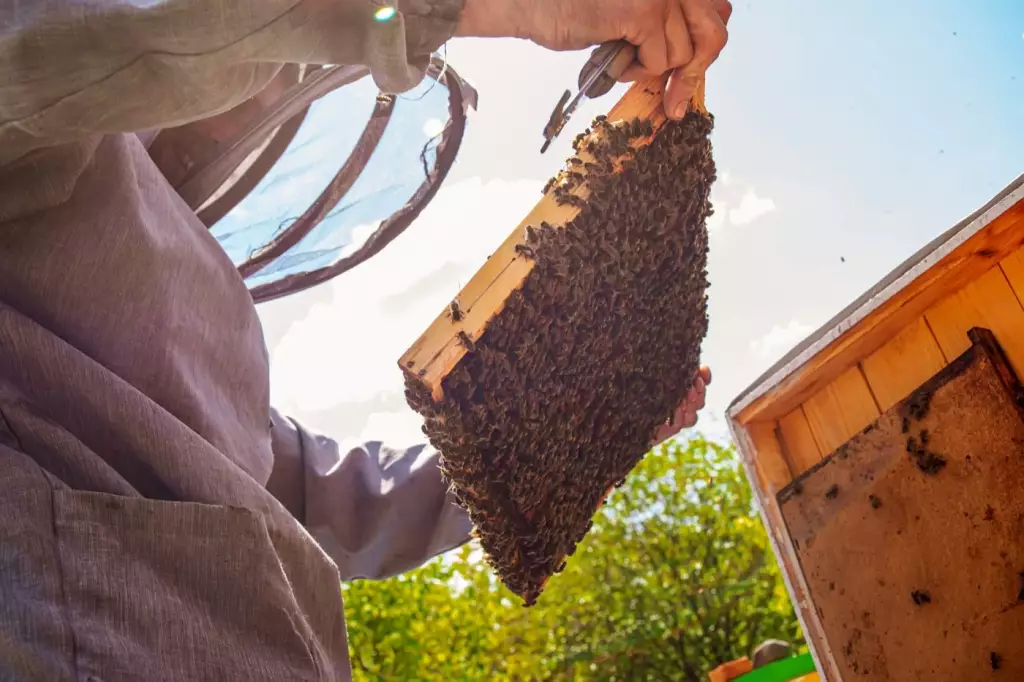
A strong hive can be split using the artificial swarm technique, regardless of whether the hive has displayed signs of swarming. The queen must be located before being moved, along with a few frames of bees, to a new hive, leaving the previous hive without a queen. This will encourage the original, queenless hive to raise the remaining queen cells.
The new queen cells shouldn't start capping until at least eight days after the original queen has been removed. Place a couple of these capped queen cells, together with the right amount of honey, pollen, and brood, into each new hive.
The capped queen cells should be placed in their new hives and left alone for a month to give the queens time to mature and finish their breeding flights.
-
Take a nuc box and place it next to the hive you want to split.
-
Find the queen. Check that the frame she is on has all stages of brood, including eggs. If the queen is not on a frame with brood, carefully relocate her to one that is. Insert the queen and this frame into the nuc.
-
Locate and remove two frames holding honey and pollen, as well as one more frame with brood. The brood frames should be placed in the center of the nuc box, while the honey and pollen frames should be positioned on the outside.
-
Place an empty drawn-comb frame exactly in the center of the nuc box.
-
Find two more frames with brood, then vigorously shake the bees into the nuc box from the frames. Put the nuc box's lid on.
-
The original hive won't have a queen anymore. You need to install a queen in your beehive. You can also let the hive requeen naturally or use a different technique.
-
The nuc can either be sold or taken off-site for a week. The nuc can be brought back to its original location after a week, and the frames can then be added to a new hive.
A Successful Beehive Split
The most successful splits are walkaway splits because they are the simplest to execute. The beekeeper doesn't have to spend a lot of time making them, and usually these bigger units can take care of themselves with little help from the beekeeper.
In walkaway splits, beekeepers normally would and should feed the colonies in nucs to encourage growth. Feeding is not something that is normally done in a walkaway split.
It takes practice to split a hive. Not every split will be a complete success. Every beekeeper, regardless of stage, will have a split failure or a queen rejection at some point.
It's important to keep practicing, and if you're unsure, ask another seasoned beekeeper if you may watch them split hives and tend to them. The most effective approach to learning is frequently through practical coaching.
Why is it necessary to split my beehive?
Splitting your hives has a range of benefits, including:
- Increasing the number of managed hives naturally
- Breaking the brood cycle and perhaps lowering Varroa mite populations
- Splitting is a simple way to increase income by selling the split as a nucleus colony.
- Splitting helps keep bee populations healthy and controlled.