How To Split a Hive with Queen Cells (And Cutting Them Out)
If you're looking to increase the number of hives in your colony to increase your income, splitting hives is an effective strategy. This guide will walk you through the process of splitting a hive with queen cells and how to cut them out.
First, locate the swarm cells and cut them. Select the right brood frames to transfer. If you see queen cells, cut them out with a knife carefully, and place them in a separate container to grow before reuniting with their hive. Introduce the bees to the new hive then allow a few days to monitor your success.
To split your beehive without damaging the queen cells, this guide will show you how to do it effectively and safely. It will also cover the tools and equipment to carry out this process successfully.
Summary
- Splitting a hive with queen cells is done to expand the number of beehives to manage, avoid swarming, and increase your income as well.
- You can cut out queen cells in two using a hive tool or a sharp knife and grow them separately from the hive before reuniting them with their original colony.
- A hive tool, brush, and knife are some of the essential tools you need to prepare before splitting a hive.
On this page:
Splitting a Hive with Queen Cells
When you notice that your beehive has an overpopulation of bees, it is an indication that it’s time to split the hive, otherwise, your colony will suffer the consequences of swarming.
It’s good to familiarize yourself with the steps on how to split a hive successfully each time, including how to identify and handle queen cells to enable you to manage your beehives effectively.
If you don’t know how to do that yet, here’s a step-by-step process on how to split a hive with queen cells and cut them out for a flourishing beekeeping experience.
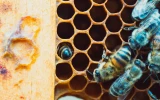
Cut out the swarm cells
Before you begin the hive-splitting process, you must first locate and cut out swarm cells to prevent your new hive from swarming. Swarm cells are quite easy to spot and are typically found on the bottom edges of the frames. They are thought to resemble a peanut shell growing out from brood frames.
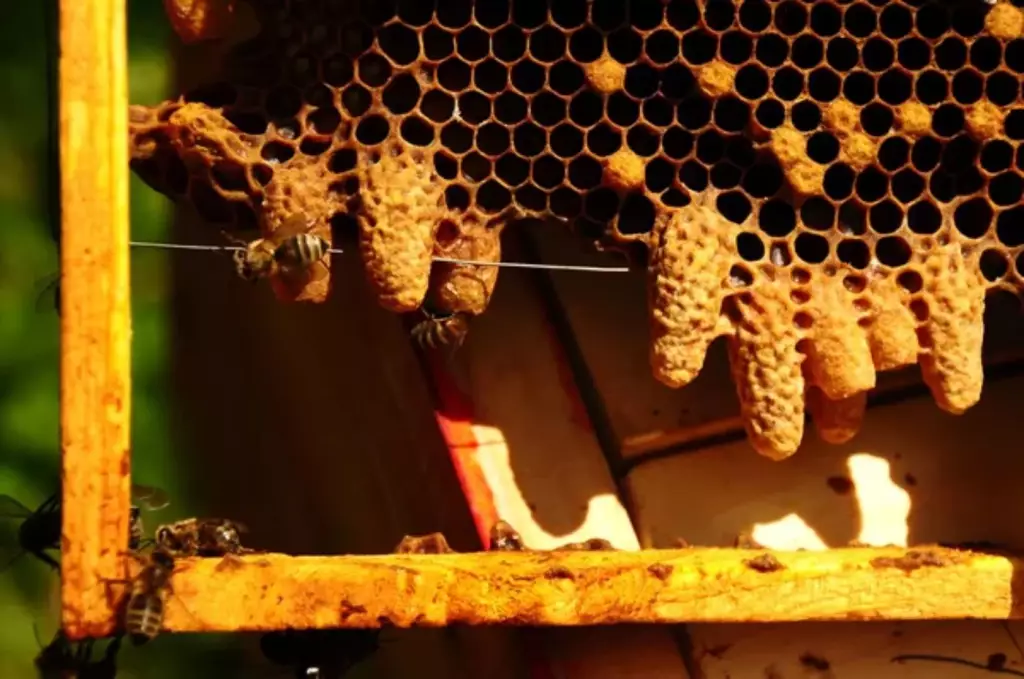
Using a hive tool or a similar utensil, carefully cut out the swarm cells you find, without putting damage to the rest of the frame.
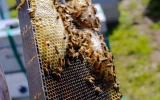
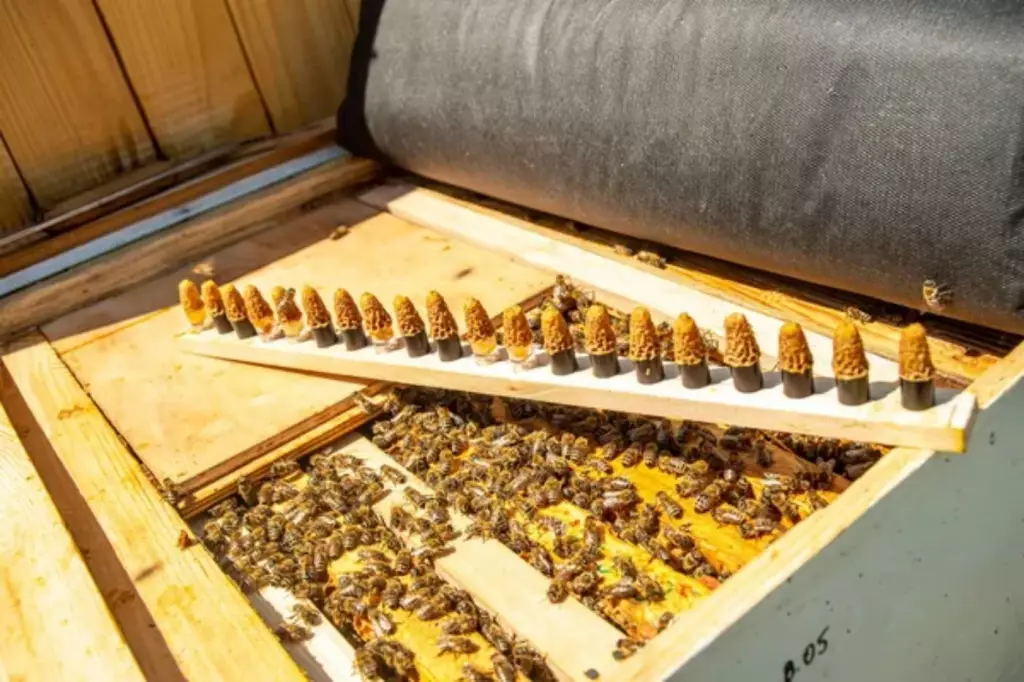
Transfer the frames and split the hive
To split a beehive, start by selecting the right brood frames to transfer. You'll need to choose at least three frames containing brood at different developmental stages, including eggs, larvae, and capped brood to ensure a strong, growing population in the new frame.
In addition, you may also want to transfer frames containing honey and pollen to support the nutritional needs of the new colony. When moving the frames, be cautious not to damage any developing queen cells that may be present.
If there are queen cells present, you may take one or more of them and place them in the new hive. Once the queen cells have been added to the new hive, the new hive can be set up with brand-new frames, and the old frames can be returned.
Introduce bees to the new hive
Once the frames have been carefully transferred, place the old queen in the new hive unconfined. You want her to be able to move freely and continue laying eggs.
Allow your new hive ample space for the colony to grow and set it up with the proper equipment, such as a hive box and a bottom board. If using a double-screen bottom board, ensure that the queen is protected from bee intruders from another hive.
Caring for the Bees after Splitting
After you've successfully split the hive, you may need to frequently monitor both the old and new colonies. You need to check the original hive to confirm that a new queen has emerged and started laying eggs. This process might take a couple of weeks, so be patient.
Additionally, monitor the new hive to see if the old queen is laying eggs consistently and to ensure there are no swarm cells present.
When caring for the bees, you will need to also provide them with enough honey. If you notice any signs of food shortage, provide supplemental feeding like sugar syrup to boost the resources. To make one, here are recipes on making bee sugar syrup in each season.
Cutting the Queen Cells Out
Most beekeepers typically cut out queen cells for three reasons: to avoid swarming, to control the genetics of the colony and remove those that do not meet the standards, and lastly, as part of a hive management strategy to control the number of bees in the hive and direct the bees' energy towards honey production.
Cutting out the queen cells may look easy, but here are a few steps to carefully do so:
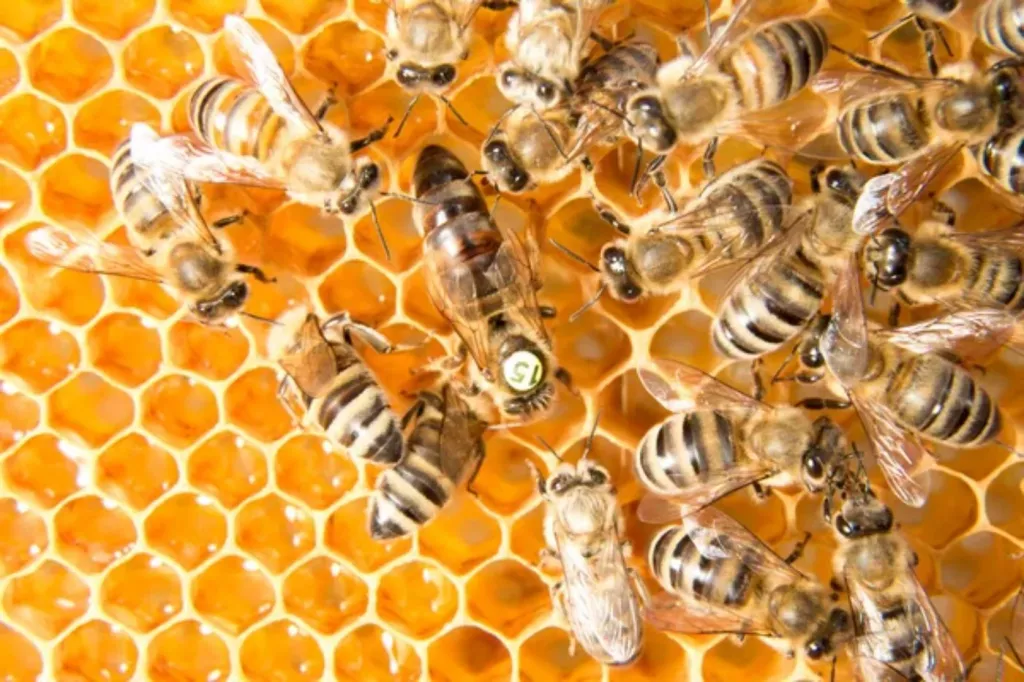
1. Locate the queen cells
Queen cells are located near the top of the hive and are slightly larger than worker cells. When you discover them, gently remove them from the hive. You can do this by using a razor-sharp knife or a hive tool. The queen cells should be taken out and put in a different container, such as a little plastic box.
2. Inspect the cells for deformities
Inspect the queen cells for any damage or deformities, and you might want to consider discarding those with issues.
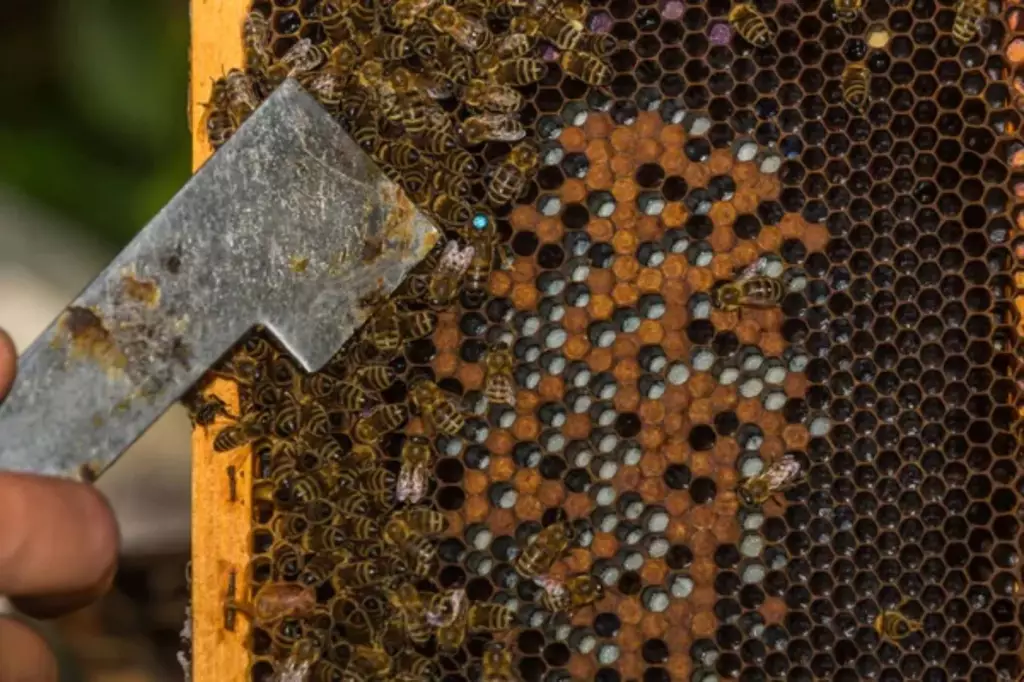
3. Cut the queen cells into two
The next step is to cut the queen cells into two pieces. Once the queen cells have reached the pupal stage, cut them out of the cell with a sharp knife. The cells should be cut from the bottom, avoiding the queen larvae, and gently placed in a separate container. You can achieve this by using a sharp knife or a pair of scissors.
You might need to practice precision as much as possible when making the cuts because any unevenness could affect the development of the queens. Once the queen cells have been cut, they should be placed in separate containers. Each container should be labeled with the date, the number of queen cells, and the location of the hive from which it was taken.
4. Relocate the queen cells to their respective hives
When the larvae have emerged from their cells, place them into individual queen cups and give them a few days to mature. Leave them to develop in a secure, dark location. You may check them every few days to ensure they are healthy and not being disturbed by other bees.
When the queens emerge, allow them at least 15 days to establish their dominance in the hive from which they were removed. The queen and her hive can be reunited after this time.
Assemble These Tools and Equipment Before Hive Splitting
Before you start the process of splitting a hive with queen cells, perhaps you want to gather first all the necessary tools to ensure a smooth and successful operation. In this section, we'll go through some of the key items you'll need for this task.
1. Queen grafting tool
You may use this tool to safely handle and graft queen cells into frames. It is intended to make the grafting process less painful for the queen.
2. Hive tool
This versatile piece of equipment allows you to pry apart frames, remove excess propolis, scrape away wax, and even cut queen cells without damaging the delicate larvae inside. It’s best that you choose a sturdy, well-crafted hive tool that can handle the various tasks you'll encounter during this process.
3. Queen marking pen
You might need this to identify the queen cells by marking them. This ensures that the correct cells are used for the split.
4. Brush
You can use this to brush away debris from the frames to protect the queen cells during the split.
5. Hive tool lever
This tool is used to separate the frames from the hive and to cut out the queen cells. It is also used to remove the capped queen cells from the frames.
7. Knife
You can also use this to cut out the queen cells from the frames.
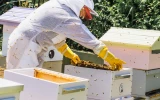
8. Bee smoker
A smoker is a useful tool that helps to calm the bees and make them more docile, reducing the likelihood of stinging incidents. Try lighting it and giving it a few puffs before opening the hive. You can use any material that produces cool, white smoke, such as burlap or wood chips, to fuel your smoker.
9. A nuc box
You will need a Nuc box for the split hive. It is a smaller version of a standard beehive, providing temporary quarters for the new colony created by the split. It should contain honey frames and frames with pollen to ensure the bees have ample resources to eat.
The nuc box will be crucial in transferring the queen cells and the accompanying bees, so make sure it is the appropriate size and sturdiness for the job. Nucs costs at least $150 to $215.