When To Fruit Bulk Substrate (When Is It Ready)?
Bulk substrates are the nutritious media used in mass mushroom cultivation, often inoculated with grain spawn before being incubated. After incubation, bulk substrates often show signs that they are ready to fruit. If you’re a beginner in mushroom cultivation and want to have an idea of how to tell if your bulk substrate is ready to fruit, here’s what to look out for.
To tell if your bulk substrate is ready to fruit, look for a change in the color of your substrate, substrate thickening, or the surface of the substrate forming “popcorns” or bumps. These physical manifestations in the substrate will occur in weeks or months, depending on the type of mushrooms you grow.
For some mushrooms, it is easy to tell whether fruiting will soon take place. In some cases, it may be hard to tell, that you need to look for signs of fruiting in the bulk substrate. Let's look at a more detailed explanation on how to tell if your bulk substrate must be subjected to fruiting conditions.
Summary
- The bulk substrate is ready to fruit when it changes color and becomes leathery, such as in the case of shiitake mushrooms, produces popcorn-like bumps on the surface, or becomes fully covered in white, which means it has been completely colonized by the mycelium.
- Once you see signs of fruiting, provide ideal fruiting conditions by adjusting the temperature, humidity, oxygen, CO2 level, and light intensity.
- You can opt to fruit your bulk substrate in the growing bag or transfer it to a fruiting chamber such as a monotub or shotgun fruiting chamber.
On this page:
Physical Changes in the Bulk Substrate Signal Fruiting
You will know that the bulk substrate is ready to produce fruiting bodies when you see the following signs:
- The bulk substrate has thickened and looks more consolidated.
- The surface of the bulk substrate has formed “popcorn-like” bumps or blobs.
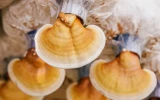
- The substrate has changed its color to brown and has formed a leathery texture (such as in the case of shiitake mushrooms or Lentinula edodes).
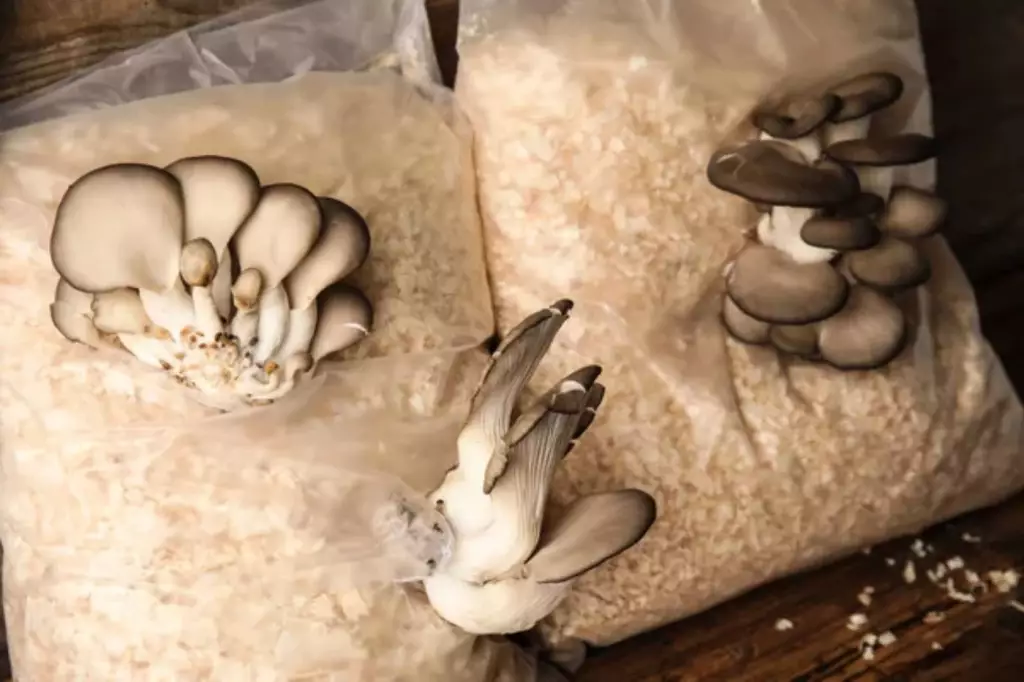
- The bulk substrate has been completely covered in dense white matter (which is the mycelium).
Bulk substrates are used in the mass cultivation of mushrooms and are often inoculated with a pre-colonized spawn. After inoculation, bulk substrates are incubated to allow time for the mycelium to colonize the entire bag.
But before the inoculation, the bulk substrate undergoes a series of preparations to ensure that it has enough nutrients and moisture, crucial for the development of the mushrooms. Some of the characteristics of a high-quality substrate include good absorption properties, tolerance to harsh environments, resistance to pests, and being highly fibrous.
The first step in preparing the substrate is hydration. The rule of thumb is to add 1.5 to 1.8 parts of water for every 1 part of the dry substrate. The goal of this measurement is to achieve field capacity, which refers to the amount of moisture that a material can hold without excess.
You can check if you achieved the correct ratio of water to dry substrate by performing a squeeze test. No drop of water should come out if you squeeze a handful of substrate. Be aware, however, if it’s looking and feeling too dry.
When you achieve the right field capacity, mix the substrate well and load it into your growing container or bag. You have two options to decontaminate your substrate.
If your substrate has more nutrients, such as manure, you must sterilize it. If your substrate is made up of materials with fewer nutrients, such as straw or coco coir, pasteurization can do the job.
After a complex preparation process, your bulk substrate is now ready to be inoculated with grain spawn. Mycelium can be seen 7–14 days after inoculation depending on factors such as type of substrate, species of mushrooms, temperature, humidity, and nutrient availability.
When the spawn has been completely inoculated on the substrate, the bag is now ready for incubation. The incubation period varies depending on mushroom species, spawn rate, temperature, and a few other growth factors.
Some mushrooms, like oyster mushrooms, have an incubation period of 1–2 weeks, while shiitake mushrooms need a longer incubation period of about 3–4 months. The colonization temperature also varies per mushroom species but is usually ranged between 75°F and 80°F.
After weeks or months of decomposing the substrate, the mycelium will spread and completely cover it. A mushroom substrate is a nutritious material that the mushroom mycelium establishes itself on and grows into. It is comparable to the function of soil in plants: providing nutrients, water, and energy needed for the mycelium to fruit.
Fruiting Your Substrate When It’s Ready
If you decide to fruit the substrate in the growing bag, there are some important factors that you need to consider when transitioning the substrate from a vegetative state to a fruiting stage. These important factors are temperature, fresh air exchange, humidity, and light intensity. It is essential to have control of all these factors at the right time to set your substrate to fruit.
Here are some of the things you need to do if you proceed to fruit your substrate in the bag:
- Open the bag once a day to allow fresh air exchange and to remove the CO2 buildup.
- Mist the substrate with clean, distilled water if it looks too dry.
- Fold back and close the bag to let the moisture be absorbed.
- During this time, the temperature must be adjusted to induce fruiting. The best range is around 65–75°F (18–24°C). Other ideal conditions that trigger mushroom fruiting can be found in this article.
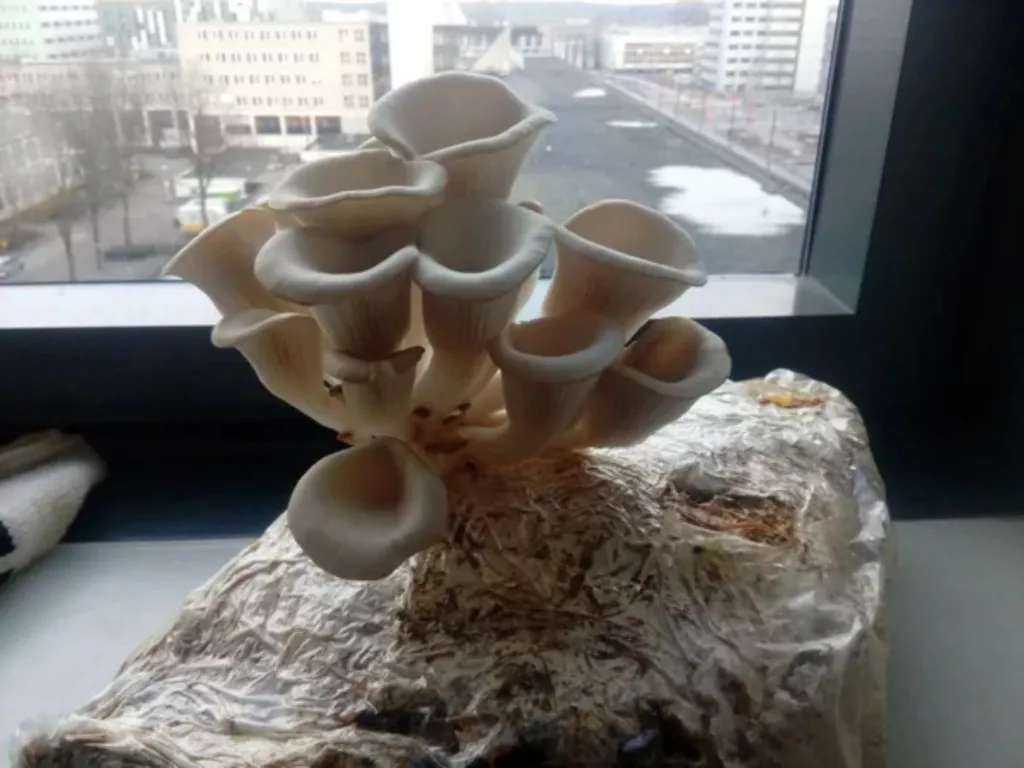
If you’re able to provide all these conditions successfully, more pins will develop from your substrate. Since they need to grow upward, you can help them by creating more openings in the bag to make more room for the growing mushrooms. Once mature, you can now harvest your first flush from your bulk substrate.
After harvesting, fold the top of the bag closed to prevent the substrate from drying out. Rehydrate as needed and repeat the process above. You should be able to harvest more flushes for weeks until your substrate has been fully spent.
The fruiting stage in mushroom cultivation refers to the process of encouraging the substrate to produce the “fruiting bodies,” which are the actual mushrooms we consume.
Once the substrate has shown signs such as being fully covered in dense white material, forming “popcorn” bumps, or thickening, it signals that it has been fully colonized by the mycelium. This also means that you must decide what fruiting method you’ll use.
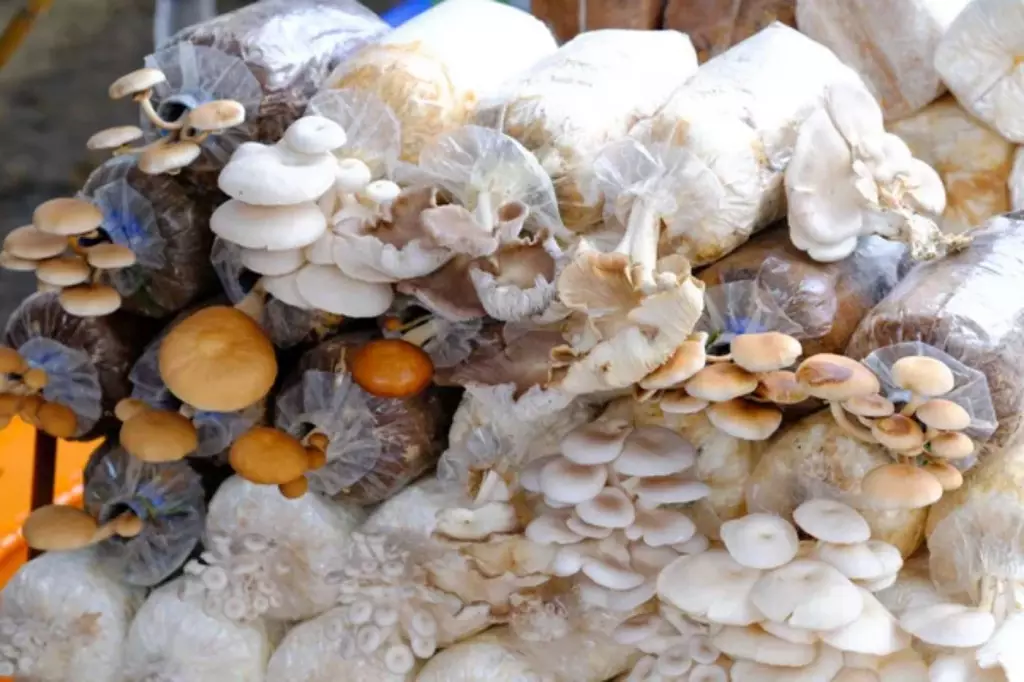
You can choose to continue the fruiting stage of your mushrooms by leaving the substrate in the growing bag, or you may also opt for other fruiting chambers such as a mono tub, terrarium, or shotgun fruiting chamber.
The advantage of using a separate fruiting chamber, such as in the monotub method, is that the substrate will have more surface area and room to produce large fruiting bodies. However, this will require effort and additional equipment, as well as sterile conditions.
As beginners, you can try creating either a monotub or shotgun fruiting chamber for starters. If you’re torn between the two, here’s a comparison of their pros and cons.