How to Harvest & Process Raw Honey at Home (8 Steps)
If you are a beginner beekeeper, one of the things you have to figure out early is how to harvest and process raw honey. There’s a limited window to harvest honey, so you want to have all the equipment ready when the time comes.
Harvesting and processing raw honey involves several steps, such as getting the honey from the bee comb and removing it using an uncapping knife or fork. Next, you must extract the honey using a manual or automatic extractor. Then, you have to filter it to remove debris and impurities.
With the right equipment, patience, and a bit of elbow grease, you can get raw honey at home in no time. The following section will break down all of the steps involved.
Summary
- Harvesting and processing raw honey has three key stages: getting the raw honey, extracting it, and storing it in a labeled jar or container.
- It's essential to know the "flow" or peak nectar collection phase in your area because it's the best time to harvest raw honey.
- Raw honey is different from regular honey.
On this page:
8 Crucial Steps When Harvesting and Processing Raw Honey
Since most beekeepers operate at their own homes or properties, it’s best to use simple yet effective methods of producing honey. The best thing about the steps we will teach you is that they can be performed using simple tools and by just one individual.
1. Inspect honeybee colonies
Put your bee suit, veil, and gloves on to protect yourself from potential stings. Then, assess the honeybee colonies and ensure they are ready for harvesting.
Below are some signs that you can gather honey from a colony:
- More than 90 percent of the frame is full of honey and is surrounded by capped honeycomb cells.
- The colony has a sufficient population to produce honey after removing some honey frames.
- Your bees have enough honey stored in the hive to sustain them through the winter.
2. Use a bee smoker
A bee smoker is a tool that produces smoke, which causes the bees to become less active and less aggressive. This makes it easier to work with the bees and harvest the honey without getting stung. Pump the bee smoker around the colony to keep the bees calm before you proceed to the next step.
Don’t use synthetic materials or paper as fuel because they have been bleached and can irritate the bees. Instead, use twigs, wood pellets, pine needles, and burlap.

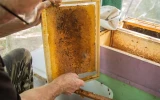
3. Take out honey frames from the apiary
Next, remove the frames using the hive tool, which helps you pry frames loose. The hive tool is the Swiss Army knife of beekeepers, as you can also use it to scrape away any stubborn bits of wax.
Be sure to handle the frames gently to avoid damaging the comb. Inspect them for any pests or diseases that may be affecting the colony. Transfer the frames with harvestable honey indoors when they can be protected from the elements before the extraction stage.
4. Remove wax caps from the honeycomb cells
This step involves getting the honey out of the honeycomb cells. Place the honey frames in a large tub. Use an uncapping knife or fork to remove the wax caps from the honeycomb cells. Once the caps are removed, the honey will be exposed and can be extracted from the comb.
Don’t forget to collect the beeswax from the comb because it’s an essential ingredient in making candles, salves, moisturizers, lip balms, and crayons.
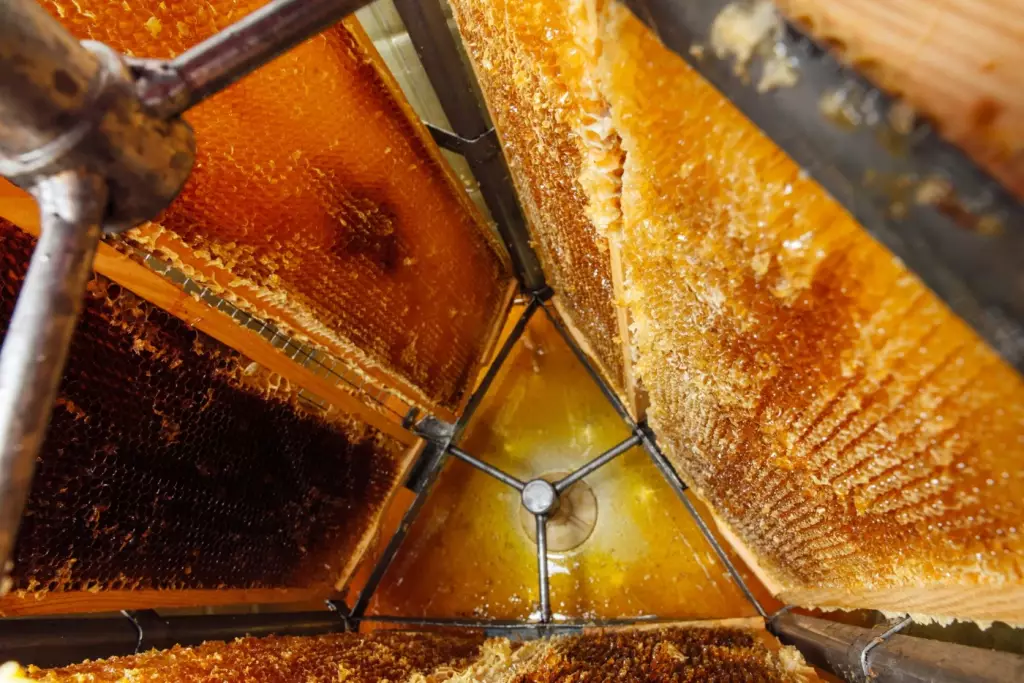
5. Extract the honey
You can use a manual or electric honey extractor to extract the honey. A manual extractor typically consists of a spinning drum that separates the honey from the comb, while an electric extractor uses centrifugal force to do the same thing.
Place a food-grade tub or pail under the machine’s spigot or gate to collect the honey. Then, put the frames in the machine and ensure they are securely fastened and in the correct position. Start spinning the machine, and don’t go too fast, as it can damage the honeycomb.
6. Filter honey and remove debris
Put the honey you collected from the extractor into another container with a filter on top, such as a fine mesh strainer. You may add a finer strainer to ensure that all debris and impurities are filtered out.
Depending on your setup, you can place the filters between the extractor’s honey gate and the food-grade tub or pail.
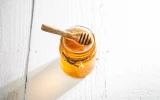
7. Store honey in airtight containers
Transfer the honey into airtight containers to store the honey to keep it fresh and protected from the elements. Glass is a popular choice because it is visually more appealing and an excellent barrier against odors. However, glass jars are fragile and more expensive.
In contrast, plastic containers are lightweight and more convenient to transport. When choosing a plastic container, it's essential to look for BPA-free food-grade plastic containers. Be sure to consult with the container’s manufacturer to ensure that it won’t be affected by the acidic properties of honey.
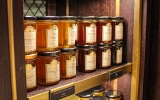
- Label and store in a cool, dry place
Put a label on the honey jar as part of your branding campaign. Depending on the volume and sales you get from the honey, you may be required to put other details on the label, such as:
- Date of production
- Origin of the honey
- Nutritional facts
- Name and address of your company
- Net weight
- Allergen labeling
- Organic certification
It's crucial to check the specific labeling regulations in your country or region, as regulations may vary. Some states or countries may have specific requirements beyond what is mentioned here.
Finally, store the honey jars in a cool, dry place away from direct sunlight. The place or room where it is stored must have a temperature between 50°F to 65°F. Avoid exposing the honey to heat sources, like ovens, or it will lose its quality.
When is the Best Time to Harvest Raw Honey?
The best time to harvest honey is when the weather is dry and warm. During this period, the bees are less aggressive, and the honey is less watery. Refrain from harvesting honey during humid and rainy weather honey will contain more water, making it harder to extract.
Bee colonies have a “flow” or the peak nectar collection phase. Different regions will have varying flow times. For example, the United States Northeaster region’s flow time is usually around spring.
Meanwhile, the prime nectar flow in Wyoming typically starts in late spring to early summer. It usually ends through mid to late summer when many of the flowering plants in the area are in full bloom.
If you are an inexperienced hobbyist harvesting honey for the first time, it’s best to do so with the guidance of a seasoned beekeeper.

What is the Difference Between Raw Honey and Regular Honey?
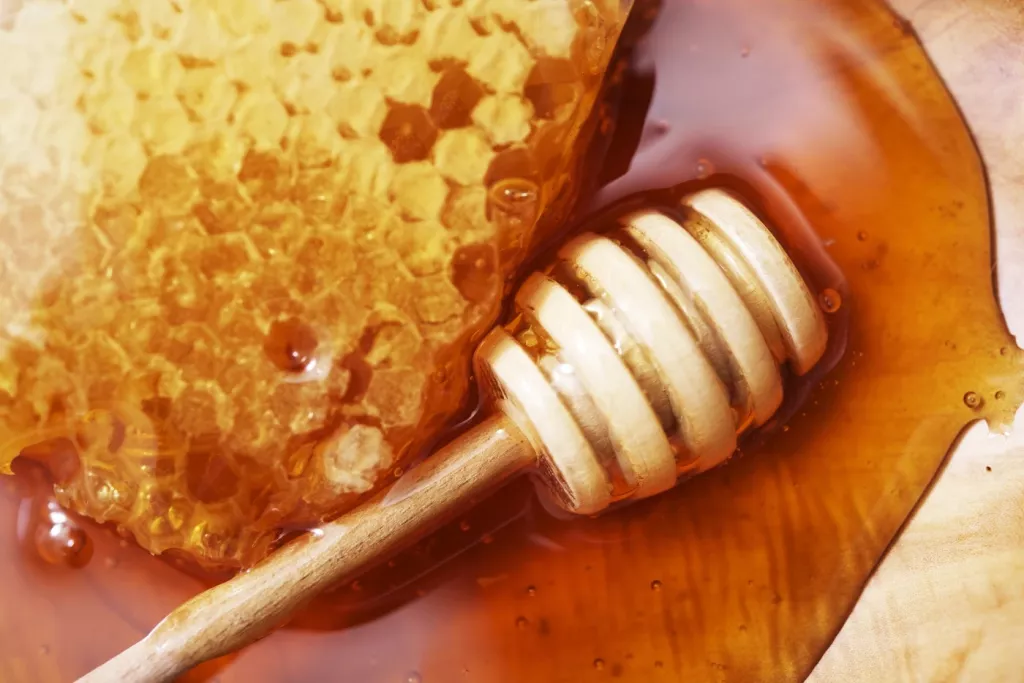
Raw honey
Raw honey comes out when you remove the waxcaps using an uncapping knife or fork. It usually appears opaque and cloudy because of the extra bits of beeswax, dead bees, pollen, and other debris. Eating raw honey is typically unsafe until you have filtered out all impurities.
The color of raw honey differs depending on the flowers the bees have pollinated. Raw honey is healthier than commercial honey since it retains enzymes and antioxidants filtered out by the latter’s ultrafiltration process.
Regular honey
Unlike raw honey, regular honey undergoes pasteurization. This process involves applying high heat to eliminate sugar-tolerant yeast in honey and extend its shelf life. Pasteurization is what gives regular honey’s clear and smooth appearance.