Ultimate Guide to Requeening a Hive Successfully Every Time
Requeening a colony involves removing the queen and replacing it with a new queen with desired traits. A hive with no queen will either cease to exist because of a declining population or be attacked by pests. If you find that your hive has lost its queen, here’s an ultimate guide to requeening your hive successfully every time.
To successfully requeen a hive, the following steps must be followed: acquire a new queen by either raising or purchasing one, remove the old queen if it is still present, install the new queen while caged, wait for a week before inspection, and lastly, remove the queen cage.
We’ll share a more detailed overview of the steps to requeen a hive successfully, so keep reading below.
Summary
- Requeening successfully can be done by getting a new queen, removing the old queen, installing the newly acquired queen, and inspecting after a week to check if the queen has been accepted, so you can remove the cage.
- A bee colony can kill the new queen if she is introduced abruptly instead of slowly.
- To acquire a new queen for your queenless hive, you can raise her yourself or purchase a packaged one.
On this page:
Follow These Steps to Requeen a Hive Successfully
The best way to properly requeen a hive is by slowly introducing the new queen instead of abruptly releasing it in the hive. Directly releasing the new queen into the hive might cause the bee colony to reject and possibly kill her due to unfamiliar pheromones.
A slow installation of a new queen is the better way to increase the chances of the new queen being accepted by the colony. To successfully requeen a hive, here’s a detailed step-by-step process:
The first step to requeen a hive is to acquire a new queen bee
You must find a newly mated queen bee to be successful in the requeening process. Remember that requeening is replacing an old or lost queen with a new one with desirable traits. This queen with desirable traits can be selected or obtained in two ways: by raising one or by purchasing one.
If you plan to raise a queen bee, the following are required:
- an abundant supply of nectar and good-quality pollen
- plenty of sexually mature, high-quality drones to mate with the new queen
- favorable weather for mating of drones and queens
- starter and cell-builder colony
- a queen mother to breed from, whose offspring worker bees have ideal characteristics
However, if you don’t want to risk failing to raise a queen, you can just purchase one from your local honeybee suppliers. It may only cost you around $30 to $50 per queen.
Purchasing a queen is the best idea for a queenless hive, especially if you want to add a different gene pool to your apiary. Purchased queens will usually arrive in a cage with a candy plug, and you must install it this way to prevent the colony from killing her as they regard her as an invader.
Remove the old queen bee before installing the new one
If, in any case, you are requeening for reasons such as an old-aged queen and an unproductive queen, this means the old queen is still in the hive.
To ensure success in requeening, only one queen must remain in the hive. This means you will have to remove the old queen, and doing so means killing it. To quickly kill the queen, grab her by the wings and pinch her head.
You can opt to keep the dead queen on the frames to help the colony recognize that it’s gone, or you can also keep the queen alive and transfer her in case you plan to split the hive. But keeping the old queen alive should only take a couple of days, and she must be transferred as soon as possible to prevent problems.
If you plan to keep the old queen, put her in a cage and ensure that she’s well-fed and warm until she can be transferred to a split hive.
Install the new queen 24 hours after removing the old one
You must wait 24 hours to introduce the new queen to the hive after removing the old queen. This is done to increase the chances of the bee being accepted as the new queen.
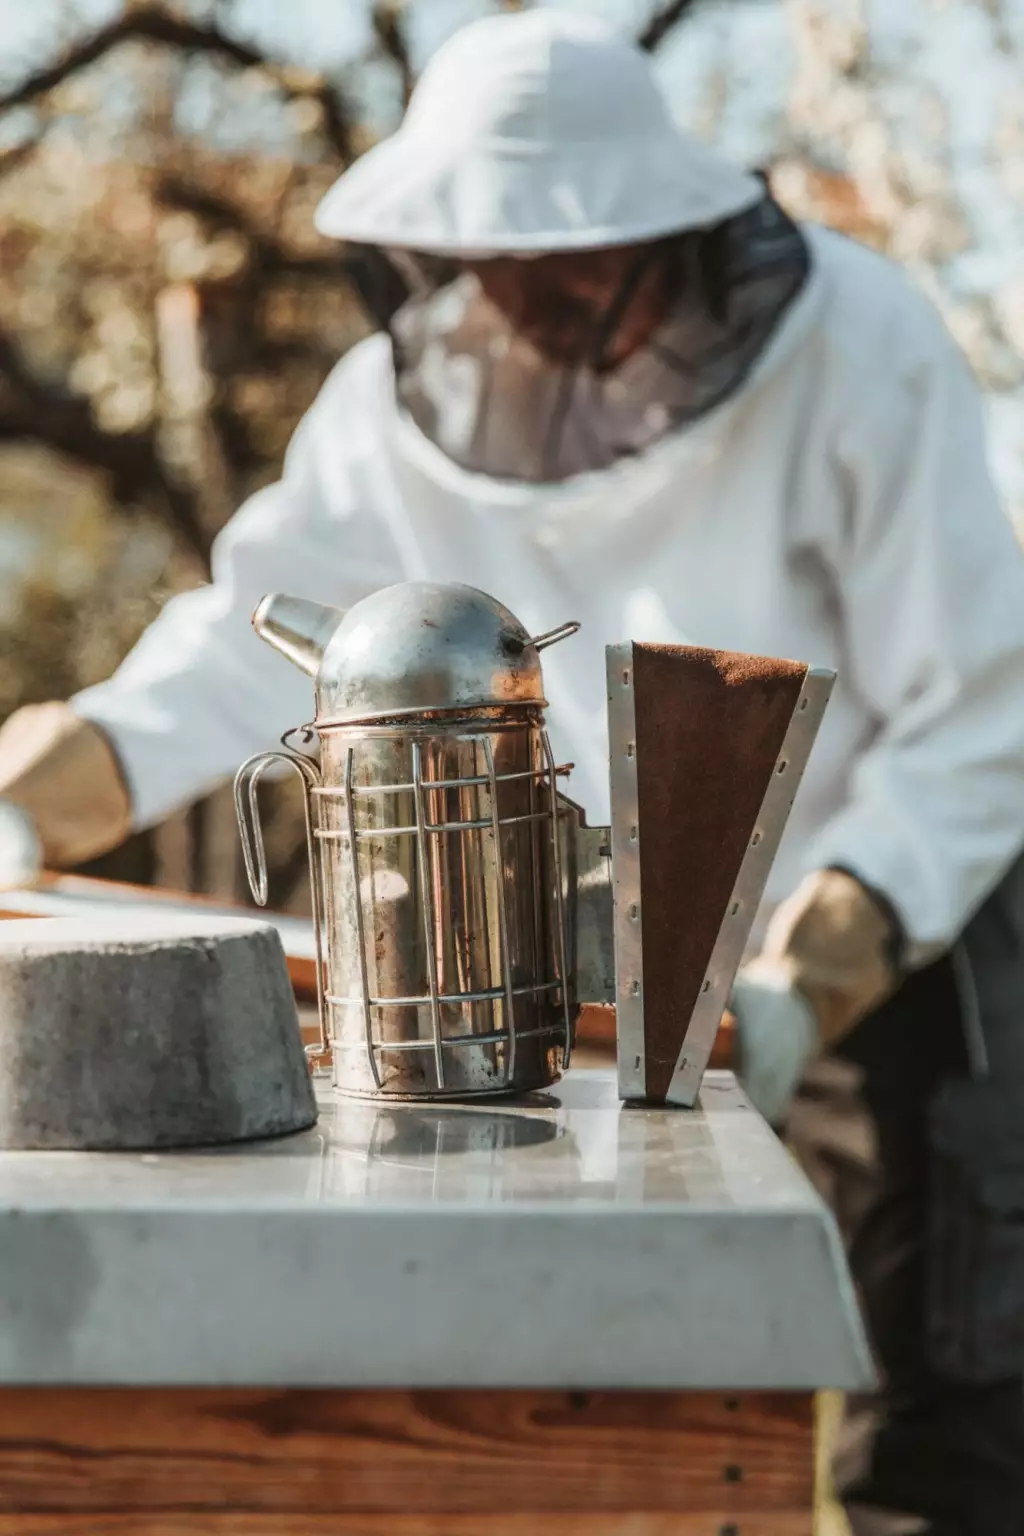
Since bees will try to kill the new queen bee once they smell her unfamiliar pheromone, beekeepers opt to use a smoker to mask the pheromone of the new queen. Masking her pheromone increases her chance of being accepted by the colony as her scent is gradually introduced.
When all things are settled, place the caged new queen into one of the combs without a brood. The queen must be positioned in the center of the brood box so that any brood that will hatch from then on will be familiar with her.
After positioning her, push the frames together around the cage as carefully as you can. Leave the candy plug in the cage for a couple of days before the inspection. Since bees love sugary substances, they will chew through this plug, and this process allows the bees time to spread their pheromone throughout the colony.
Wait for 1 week before visiting and inspecting a hive with the new queen
You may get all excited to check if the new queen you installed has been accepted by the colony, but refrain from checking for about a week.
Checking on your hive may put stress on them, and you may risk the bees blaming the new queen for it, therefore rejecting her. The week after the installation is a crucial time for the bees to accept their new queen without any interruptions.
Now, after a week, you may give your routine inspection a go and check the progress of the new queen bee. The bees would have reached the new queen already and set her free by eating the candy plug.
To check whether the new queen has been accepted or killed, thoroughly look for her and find her. If you can’t trace her, you can check on the brood chamber to see if there are new eggs present. This is a positive sign that the bees have accepted their new queen.
However, even though the new queen has been accepted, there’s still a chance for worker bees to try to overthrow her and replace her with their own genetics by making supersedure cells, or emergency queen cells.
If you find supersedure cells during the inspection, destroy them to help your new queen gain complete control of the hive. If you do so, over time, the old bees die off and those of the new queen brood take over the hive.
Remove the queen cage and keep it for future use
If the new queen is free and has started laying eggs, consider your requeening a success!
You can now remove the queen cage from the hive and save it in case you plan to split a beehive in the future. You can use this cage to move the queen and transfer her to a newly split hive.