Can You Break Up Colonized Substrate? (Bulk, Cakes)
Have you ever wondered how to evenly distribute mycelium on a fully colonized substrate? It's a tricky process, as the mycelium becomes fully attached to the substrate, making it difficult to separate them. But fear not, because in this article, we'll be exploring the best ways to break apart a fully colonized substrate and distribute the mycelium evenly.
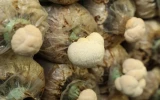
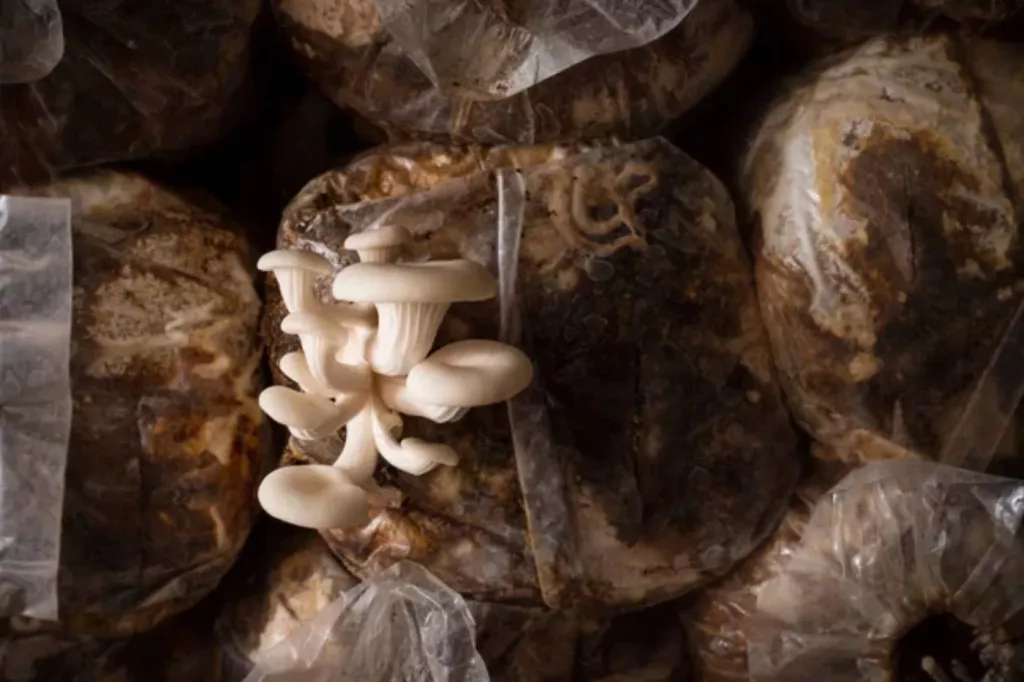
If you have your colonized substrates in jars, you can shake them vigorously to break the colonized mycelium cakes. If you have your colonized substrates in bags, you can just gently massage the mycelium clumps to distribute them evenly. It is not recommended to break a colonized bulk substrate.
This “break and shake” step is crucial to creating more inoculation points, which speed up mushroom growth. Whether you're a seasoned mushroom grower or a curious beginner, this information is sure to come in handy. So, let's dive in and discover the secrets of mushroom cultivation.
Summary
- Colonized substrates in spawn bags can be broken by gently massaging the outside of the bag. Colonized substrates in spawn jars can be broken down by vigorous shaking.
- Bulk substrates should not be broken down, as it will increase the risk of contamination and slow down the colonization process.
- Breaking and shaking the colonized substrate is important because it creates more inoculation points. More inoculation points equate to a faster colonization process.
On this page:
Breaking Up Fully Colonized Substrates Speeds Up Mushroom Growth
A mushroom substrate is a medium through which the mycelium establishes itself and develops into mushrooms. It contains all the nutrients, water, and energy that the mycelium needs to fruit into mushrooms.
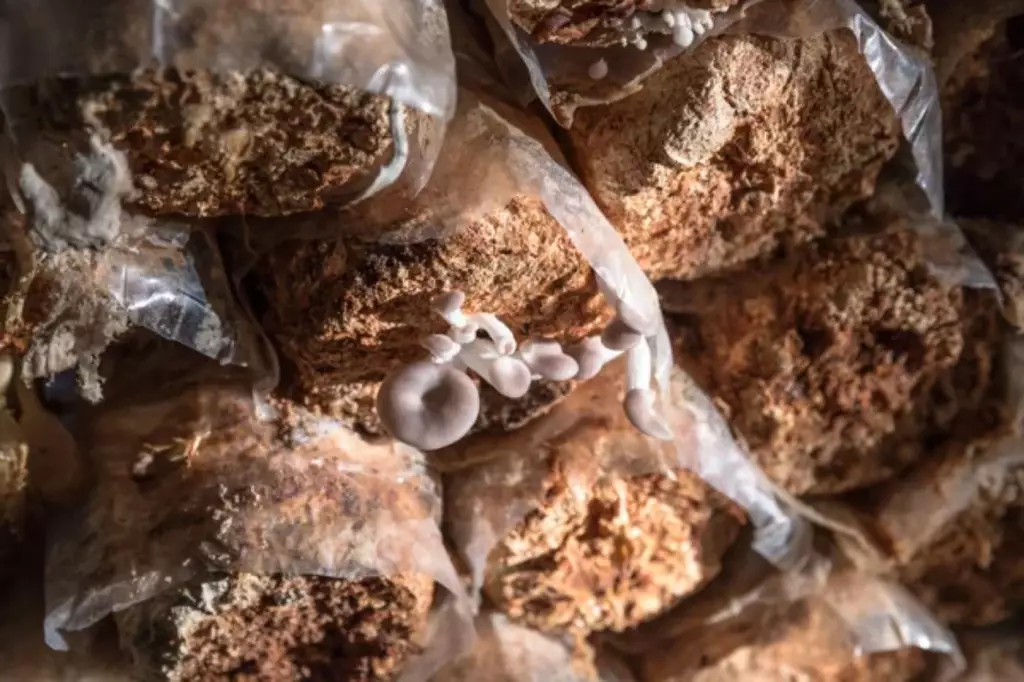
Mushroom substrates become fully colonized substrates when the mycelium has completely spread throughout, and signs of fruiting are already visible. At this point, the mycelium and the substrate mixture become one and form colonized mycelium cakes or blocks, which are inseparable in nature.
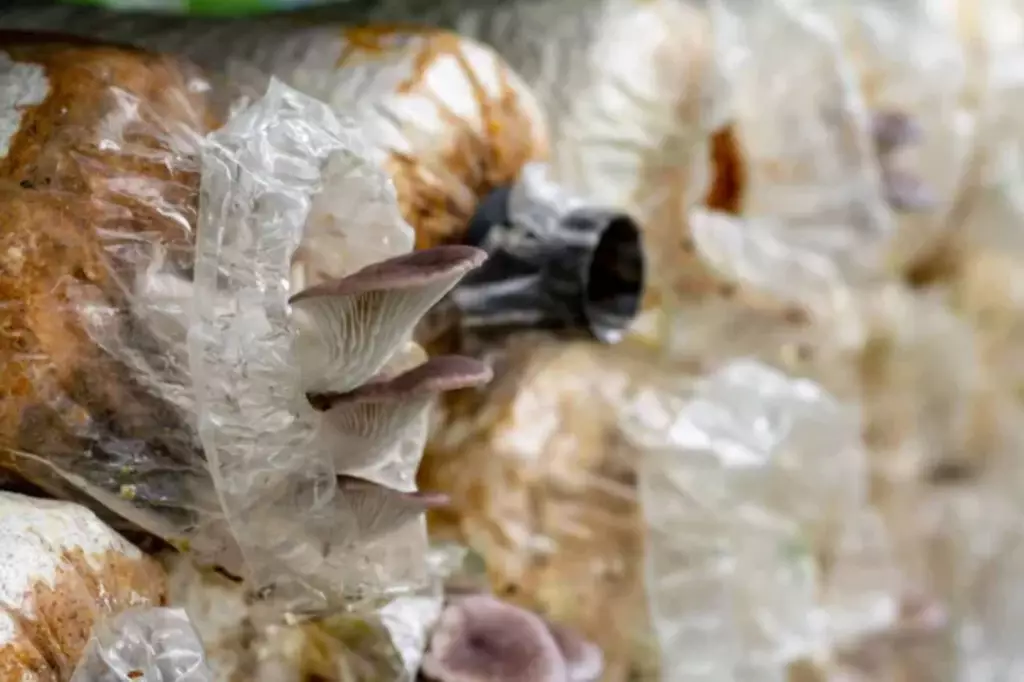
If you inoculate your mushroom spawn and substrate in a bag and let it incubate for a period, the mycelium will soon enough start to cover the substrate and begin fruiting in no time. But if you plan to transfer the contents of the bag into a fruiting chamber or a growing bag, you must observe if it starts to colonize 20–30% of the substrate and do the following:
When the mycelium has colonized 20–30% of the spawn bag, break the mycelium clump completely and thoroughly. You can do this by massaging the bag from the outside. Squeeze the clump into bits and pieces.
-
After breaking the colonized portions of the bag, transfer the contents to a bag of pre-pasteurized mushroom compost (or other substrate, depending on your mushroom). Keep in mind the correct ratio, which is 2 lbs. of colonized grain spawn per 5 lbs. of compost.
-
When all components are in one bag already, clamp the bag and massage it again to make sure that the mixture is jumbled thoroughly and the grain is evenly distributed.
-
You can proceed to fruit your mixture by either creating a fruiting chamber made of plastic bins, such as a monotub or shotgun fruiting chamber, or you can introduce this mixture to another mushroom growing bag. Either way, take note to provide ideal fruiting conditions.
If you use the PF Tek method to grow your mushrooms, you will have colonized mycelium cakes at the end of the incubation period. The PF Tek method uses jars, and since jars have a small surface area, it’s not suitable to fruit your mycelium in these small containers.
Now, the only option is to transfer the cakes to fruiting chambers, but before doing so, breaking the colonized mycelium cake is necessary.
To break the colonized substrate in the jar, you can vigorously but carefully shake the jar until the cake crumbles. Other growers dump the contents of the jar in a bag and then massage the bag from the outside, which is basically the same method mentioned above for colonized spawn bags.
-
When the cake has been crumbled, mix it with either compost or substrate in a shallow tub. Cover it with opaque plastic for 1–2 weeks, and you will observe that the mycelium has speedily spread throughout the substrate and built another huge mycelium cake.
-
Once colonization is complete, you can now remove the plastic and case the mycelium cake with vermiculite or perlite to hold moisture. The casing is optional, but it can help your mushrooms produce more flushes.
Consider these Things when Breaking Up Mycelium Cakes from the PF Tek Method
While the PF tek method provides ease and convenience when inoculating and incubating the spawn and substrate mixture, there are things that you need to consider to quicken the whole process:
Use Wild Bird Seed (WBS) grains or popcorn instead of the common BRF mix
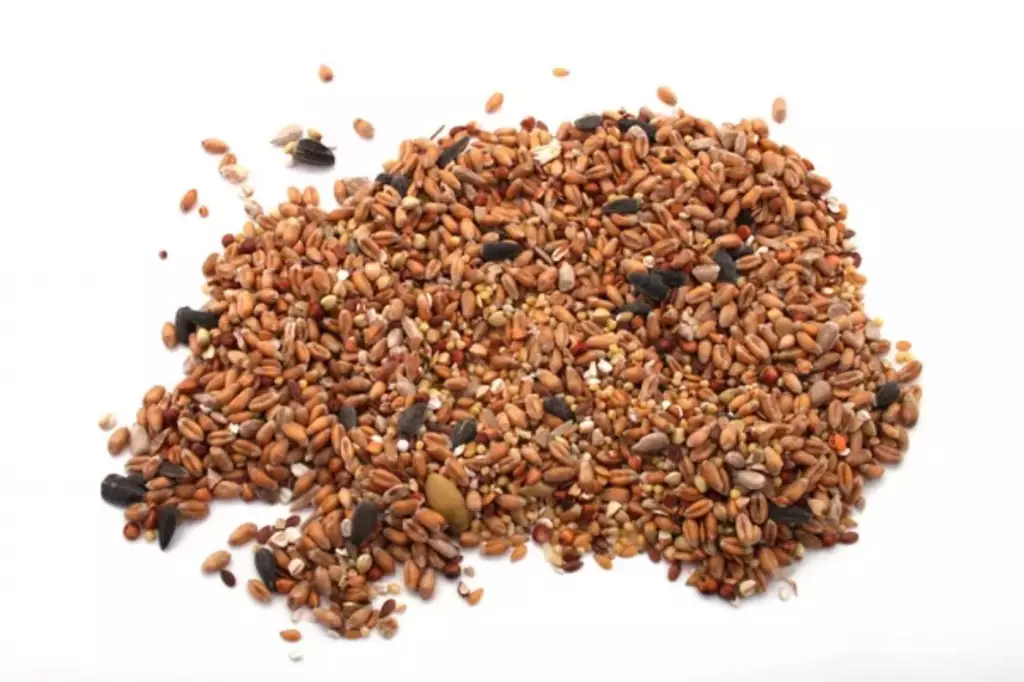
The PF Tek method commonly uses Brown Rice Flour (BRF) plus a vermiculite mixture as the substrate for the liquid culture. However, this mix tends to clump together, creating one big bulk that is difficult to separate. Wild bird seed (WBS) or popcorn offer good alternatives, as they can easily be broken by mere shaking.
Mix the spawn with the bulk substrate instead of putting it straight at the bottom of the container
Contrary to the norm of putting the crumbled mycelium cake first at the bottom of the container, you should mix it first with the substrate. Mixing the crumbled mycelium cake with the substrate has two advantages.
First, the substrate provides the mycelium with additional moisture, which is important if you want it to produce more flushes; second, the mycelium will have more grounds to get extra nutrients from. The more nutrients available, the faster the colonization time will be.
Avoid introducing contaminants by providing sterile conditions
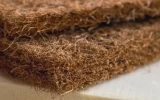
When you break the cakes, you are breaking the network of mycelium and vulnerably exposing the structure to contaminants. Re-establishing the mycelial network will take time and a good sterile substrate such as horse manure, straw, or coco coir with vermiculite.
The substrate must be steamed, pasteurized, or sterilized to kill all the contaminants, especially for nutritious substrates such as manure. This will prevent the contaminants from competing for nutrition with your mycelium, which contributes to a quicker colonization process of the crumbled mycelium cakes.
There are pre-pasteurized or pre-sterilized compost or substrate bags that can save you the trouble of creating your own compost.
For bulk substrates that have already become fully colonized, it is not recommended to break them for two reasons. First, breaking a fully colonized substrate breaks the complex mycelial network that they have built for weeks, which can make colonization slower. Second, breaking the network of mycelia will expose the substrate to a higher risk of contamination.
Importance of Breaking Up Colonized Substrates
The break-and-shake method is usually done with grain spawn bags or grain spawn jars. This is because grain spawn has the tendency to form one mycelium cake or block, which needs to be separated when transferring to bigger containers.
One advantage of grain spawn over sawdust spawn is that they are easier to break once caked than sawdust span. The break-and-shake method is important because it increases the inoculation points. More inoculation points equate to a faster colonization time.
You should be able to see your mycelium growing 1–2 weeks after inoculation. To know more factors that can enhance the growth of mycelium for faster colonization, read this article.